
Upload Files to Firebase Storage with JavaScript
Firebase; being a robust Realtime Database solution; it provides Storage of files as well. Learn how to upload files to Firebase Storage with JavaScript in simple steps

Firebase has proved itself to be a very robust Real-time Database solution, and with new API, it provides File Storage as well.
This reduces the Server-side headache of handling files to a bare minimum.
We will be going through a simple application to upload images to the Firebase Hosting along with some basic CRUD operations and authentication with Firebase. As we have already covered both topics on the following location, we will be concentrating more on the file upload.
If you are looking for how to upload files to PHP, you can read:
Upload files to PHP backend using fetch and FormData
Steps:
The basic process for file upload is
- create a firebase storage reference
const ref = firebase.storage().ref();
- Now get the file to be uploaded from the
input[type="file"]
const file = $('#photo').get(0).files[0];
OR
const file = document.querySelector('#photo').files[0];
- Now prepare the filename and metadata for the uploaded file
- Filename we can quickly get the name of the file being uploaded by the name property of the file being uploaded as follows
const name = file.name;but it is not a good idea to keep the file name as only identifier; we will use the timestamp as well at the beginning of the file name as follows
const name = (+new Date()) + '-' + file.name;
- Metadata needs the object which should contain
contentTypekey.contentTypeis the file type which can be taken from thefile.type
const metadata = { contentType: file.type };
- Create the file upload task, which will be handled by the
.put()method on the storage child. This task is a Promise, and hence we can efficiently operate on this task laterconst task = ref.child(name).put(file, metadata);The task also supports the following methods to handle file upload:
// Pause the upload
task.pause();

// Resume the upload
task.resume();

// Cancel the upload
task.cancel();
- Use the response of file upload.
task
  .then(snapshot => snapshot.ref.getDownloadURL())
  .then(url => console.log(url))
As in the above steps, the file upload is complete, though there are a few things to notice:
- You can save the
downloadURLof the uploaded file like above; or you can save the fire ref and use it later to get the download URL like as follows
const image = ref.child('kingsman.jpg');
const urlPromise = image.getDownloadURL();
urlPromise.then(url => {
   document.querySelector('#someImageTagID').src = url;
}
- There can be many cases of error that you will need to handle in the upload task by the
.catch()method of promise like as follows:
task
  .then(snapshot => snapshot.ref.getDownloadURL())
  .then((url) => {
     document.querySelector('#someImageTagID').src = url;
  })
  .catch((error) => {
     // A full list of error codes is available at
     // https://firebase.google.com/docs/storage/web/handle-errors
     switch (error.code) {
       case 'storage/unauthorized':
         // User doesn't have permission to access the object
         break;
       case 'storage/canceled':
         // User canceled the upload
         break;
       ...
       case 'storage/unknown':
         // Unknown error occurred, inspect error.serverResponse
         break;
     }
   });
- All properties of the returned
snapshotare:
| Property | Type | Writable |
|---|---|---|
| bucket | string | NO |
| generation | string | NO |
| metageneration | string | NO |
| fullPath | string | NO |
| name | string | NO |
| size | number | NO |
| timeCreated | string | NO |
| updated | string | NO |
| md5Hash | string | YES |
| on upload | - | NO |
| on updateMetadata | - | NO |
| cacheControl | string | YES |
| contentDisposition | string | YES |
| contentEncoding | string | YES |
| contentLanguage | string | YES |
| contentType | string | YES |
| downloadURLs | Array | NO |
| customMetadata | Object | YES |
Final Code:
const ref = firebase.storage().ref();
const file = document.querySelector('#photo').files[0]
const name = (+new Date()) + '-' + file.name;
const metadata = {
  contentType: file.type
};
const task = ref.child(name).put(file, metadata);
task
  .then(snapshot => snapshot.ref.getDownloadURL())
  .then((url) => {
    console.log(url);
    document.querySelector('#someImageTagID').src = url;
  })
  .catch(console.error);
Demo:
The movie DB demo, which we created in earlier posts, is now equipped with the moviePoster upload as well.
Upload multiple files to Firebase in a single Batch:
 Pankaj
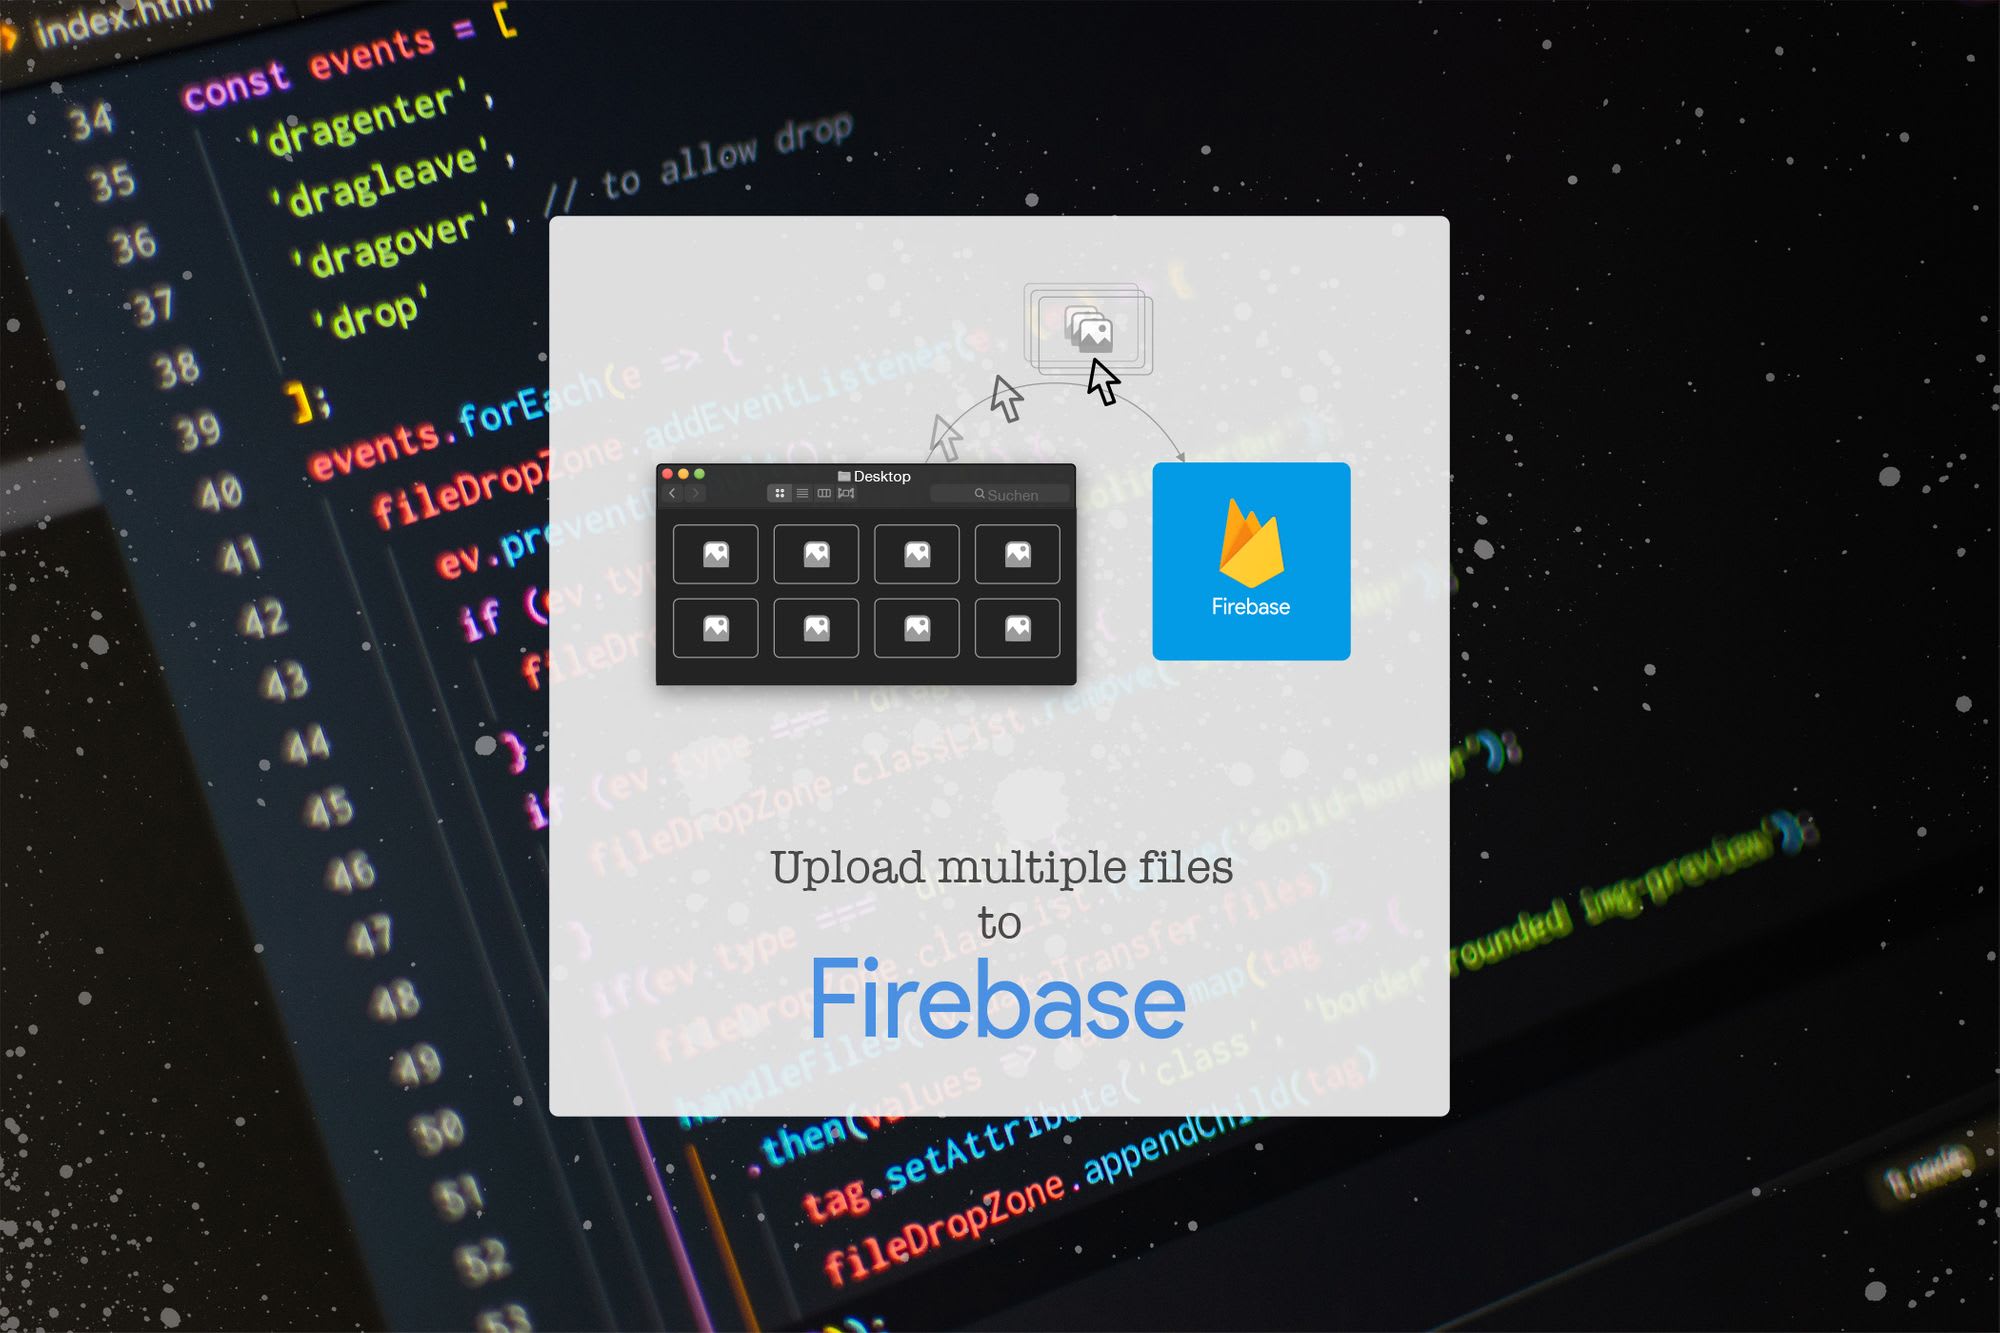
Conclusion
Let me know through comments ? or on Twitter at @heypankaj_ and/or @time2hack
If you find this article helpful, please share it with others ?
Subscribe to the blog to receive new posts right to your inbox.