ToDo app in ReactJS with Hooks & Context API
Making React apps is easy & fast as compared to the past. Let’s learn how to use Hooks API & Context API for a better developer experience.
Making React applications is easy and fast compared to the past times.
This is the time of Functional Components, Hooks and Context API. Let’s remake our to-do app from the past with Modern React.
First of all, What are React Hooks and Context API?
Hooks: Hooks are the construct in React app development that will allow you to extract the state logic of a component and make it reusable and testable.
Read more about the hooks here:

Context API: Context API provides a way to share data among components in the component tree without needing to pass props to components that will not use that data.
Read more about the Context API here:

Context API requires the creation of Context via React.createContext.
New Context will provide Provider and Consumer components of that Context.
- The
Providerwill allow you to change the data of Context - The
Consumerwill allow you to listen to the changes in the Context
With these topics in mind, we will use create-react-app to start our react app.
And to use create-react-app, we will npx it to get up and run.
npx create-react-app todo-react
Now that we have our project ready, we will do an initial run of the project with yarn start or npm start
This will start the local development server for our react project. Now launch https://localhost:3000 on your browser (provided port 3000 is free). You will see the following screen on the browser:
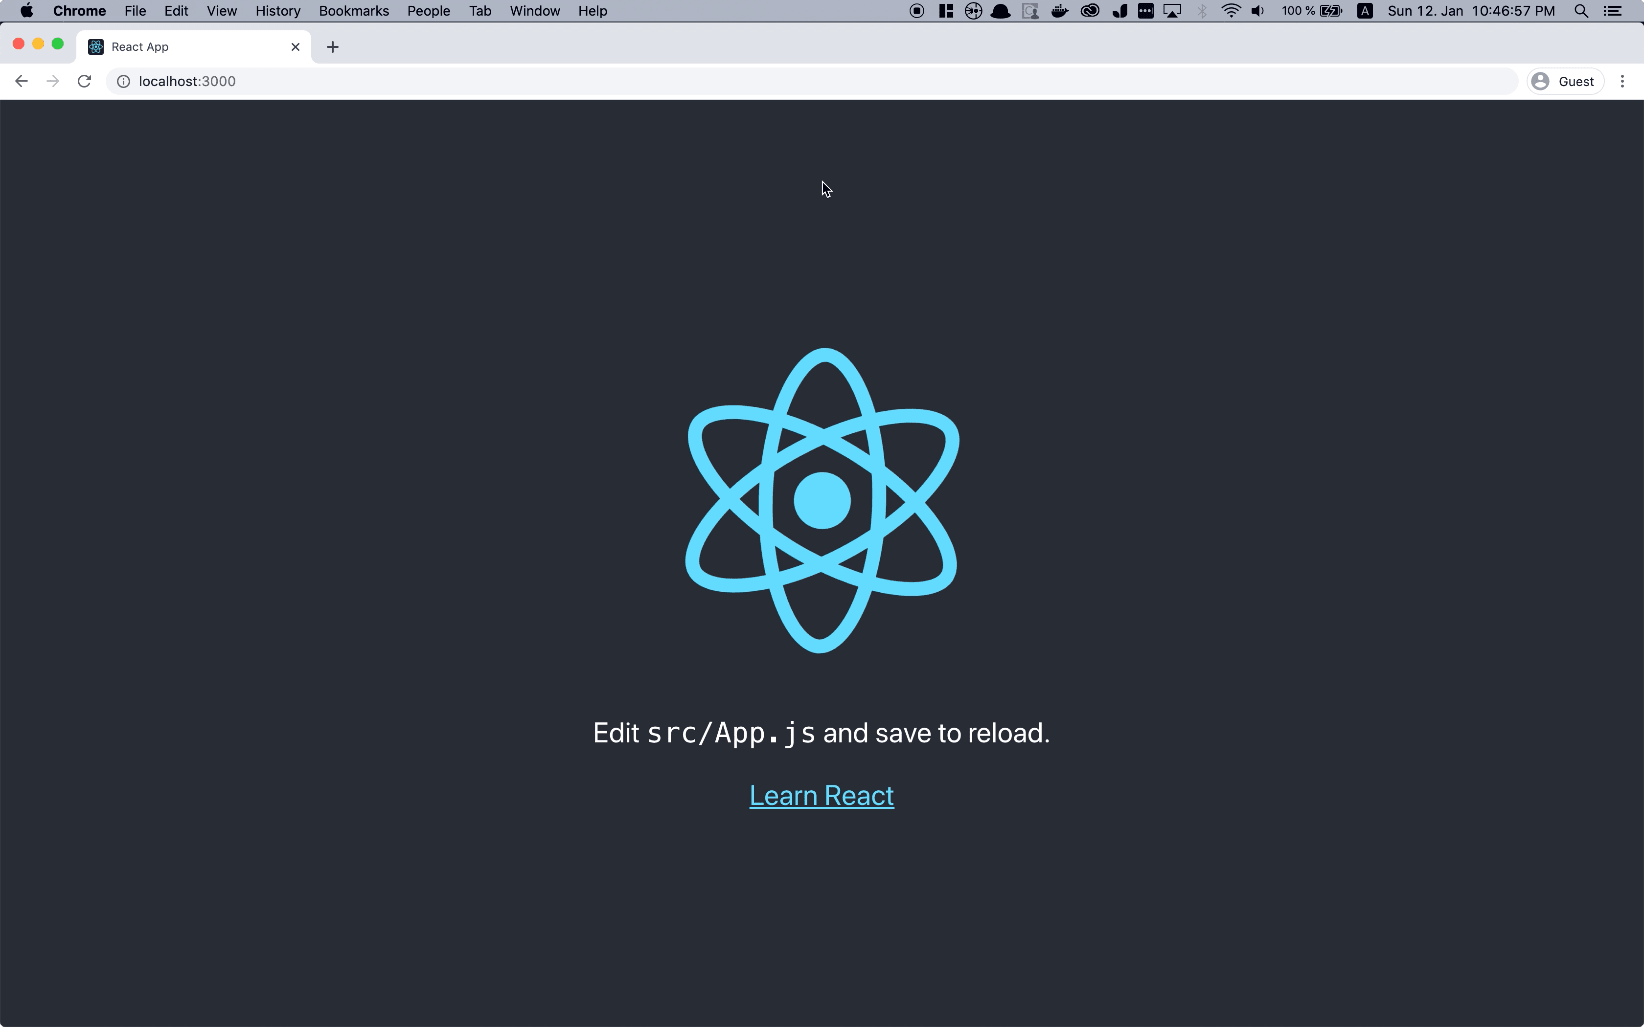
Now important file for us is App.js which will be the entry point for us, i.e. we will assemble our little todo app here.
As we have Three main functions on our todo app:
- List of ToDo
- Add ToDo
- Manage (Mark as Done and Delete/Hide Completed)
And we will share some basic configurations and utility functions through Context API.
Let’s take the todo creation function from Todo Text provided in props.
This function can also hydrate the todo state to build the UI of the todo task.
ToDo Structure and Access via Props
We will start with a basic structure and random data to make a list of ToDo. Let’s consider the following data structure of the ToDo task:
{
  text: "First Todo",
  description: "First Todo's Description",
  createdOn: new Date().toUTCString()
}
And for an array, we will create the following functional component:
// ToDos.js
import React from "react";

export const Todo = ({ task, ...extra }) => (
  <div className="card mb-3 bt-3" {...extra}>
    <div className="card-body">
      <h5 className="card-title">{task.text}</h5>
      <p className="card-text">{task.description}</p>
      <div className="footer">
        <small>{task.createdOn}</small>
      </div>
    </div>
  </div>
);

export default ({ tasks }) => (
  <>
    {(tasks || []).map((task, index) => (
      <Todo task={task} key={index} />
    ))}
  </>
);
Few essential things to notice here about Functional Components:
- React needs to be in the context of these Functional Components
- You can return JSX from arrow functions
<>is a shorthand forReact.Fragmentwhich is similar to document fragments, which allows us to keep the DOM clean.- On the line:
export default ({ todos }) => (; we have used Object de-structuring on the props
The App container will keep todos and use the above component to render the todos. The todos component looks like the following:
import React, { useState } from "react";
import Header from "./components/Header";
import ToDos from "./components/Todos";
import NewTask from "./components/NewTask";
import _tasks from "./_initial";

const App = () => {
  const [tasks, updateTasks] = useState(_tasks);

  return (
    <>
      <Header />
      <div className="container">
        <NewTask addTodo={task => updateTasks([...tasks, task])} />
        <hr />
        <ToDos tasks={tasks} />
      </div>
    </>
  );
};

export default App;
We have a local application state of ToDos and the new Todo. And we can use a state hook to keep the local state of ToDos at the application level.
Now let’s take a look at the Component for the New ToDo Form:
import React from "react";

export default ({ addTodo }) => {
  const handleAdd = e => {
    e.preventDefault();
    // we need data from Form; for that we can use FormData API
    const formData = new FormData(e.target);
    console.log("---Form---", formData);
    addTodo({
      text: formData.get("text"),
      description: formData.get("description"),
      createdOn: new Date().toUTCString()
    });
    e.target.reset();
  };

  return (
    <form onSubmit={handleAdd}>
      <div className="form-group">
        <label htmlFor="text" className="text-muted">
          Task:
        </label>
        <input name="text" type="text" id="text" className="form-control" />
      </div>
      <div className="form-group">
        <label htmlFor="description" className="text-muted">
          Description:
        </label>
        <textarea
          name="description"
          id="description"
          className="form-control"
        />
      </div>
      <div className="form-group">
        <button type="submit" className="btn btn-primary">
          Add
        </button>
      </div>
    </form>
  );
};
Here we will use FormData API to collect the values from Form Fields.
P.S. If you want to know more about Form Data API, you can head over here:
Integrating Components
Now let’s assemble the Components and have our App in a running state:
import React, { useState } from "react";
import Header from "./components/Header";
import ToDos from "./components/Todos";
import NewTask from "./components/NewTask";
import _tasks from "./_initial";

const App = () => {
  const [tasks, updateTasks] = useState(_tasks);

  return (
    <>
      <Header />
      <div className="container">
        <NewTask
          addTodo={task => updateTasks([...tasks, task])}
        />
        <hr />
        <ToDos tasks={tasks} />
      </div>
    </>
  );
};

export default App;
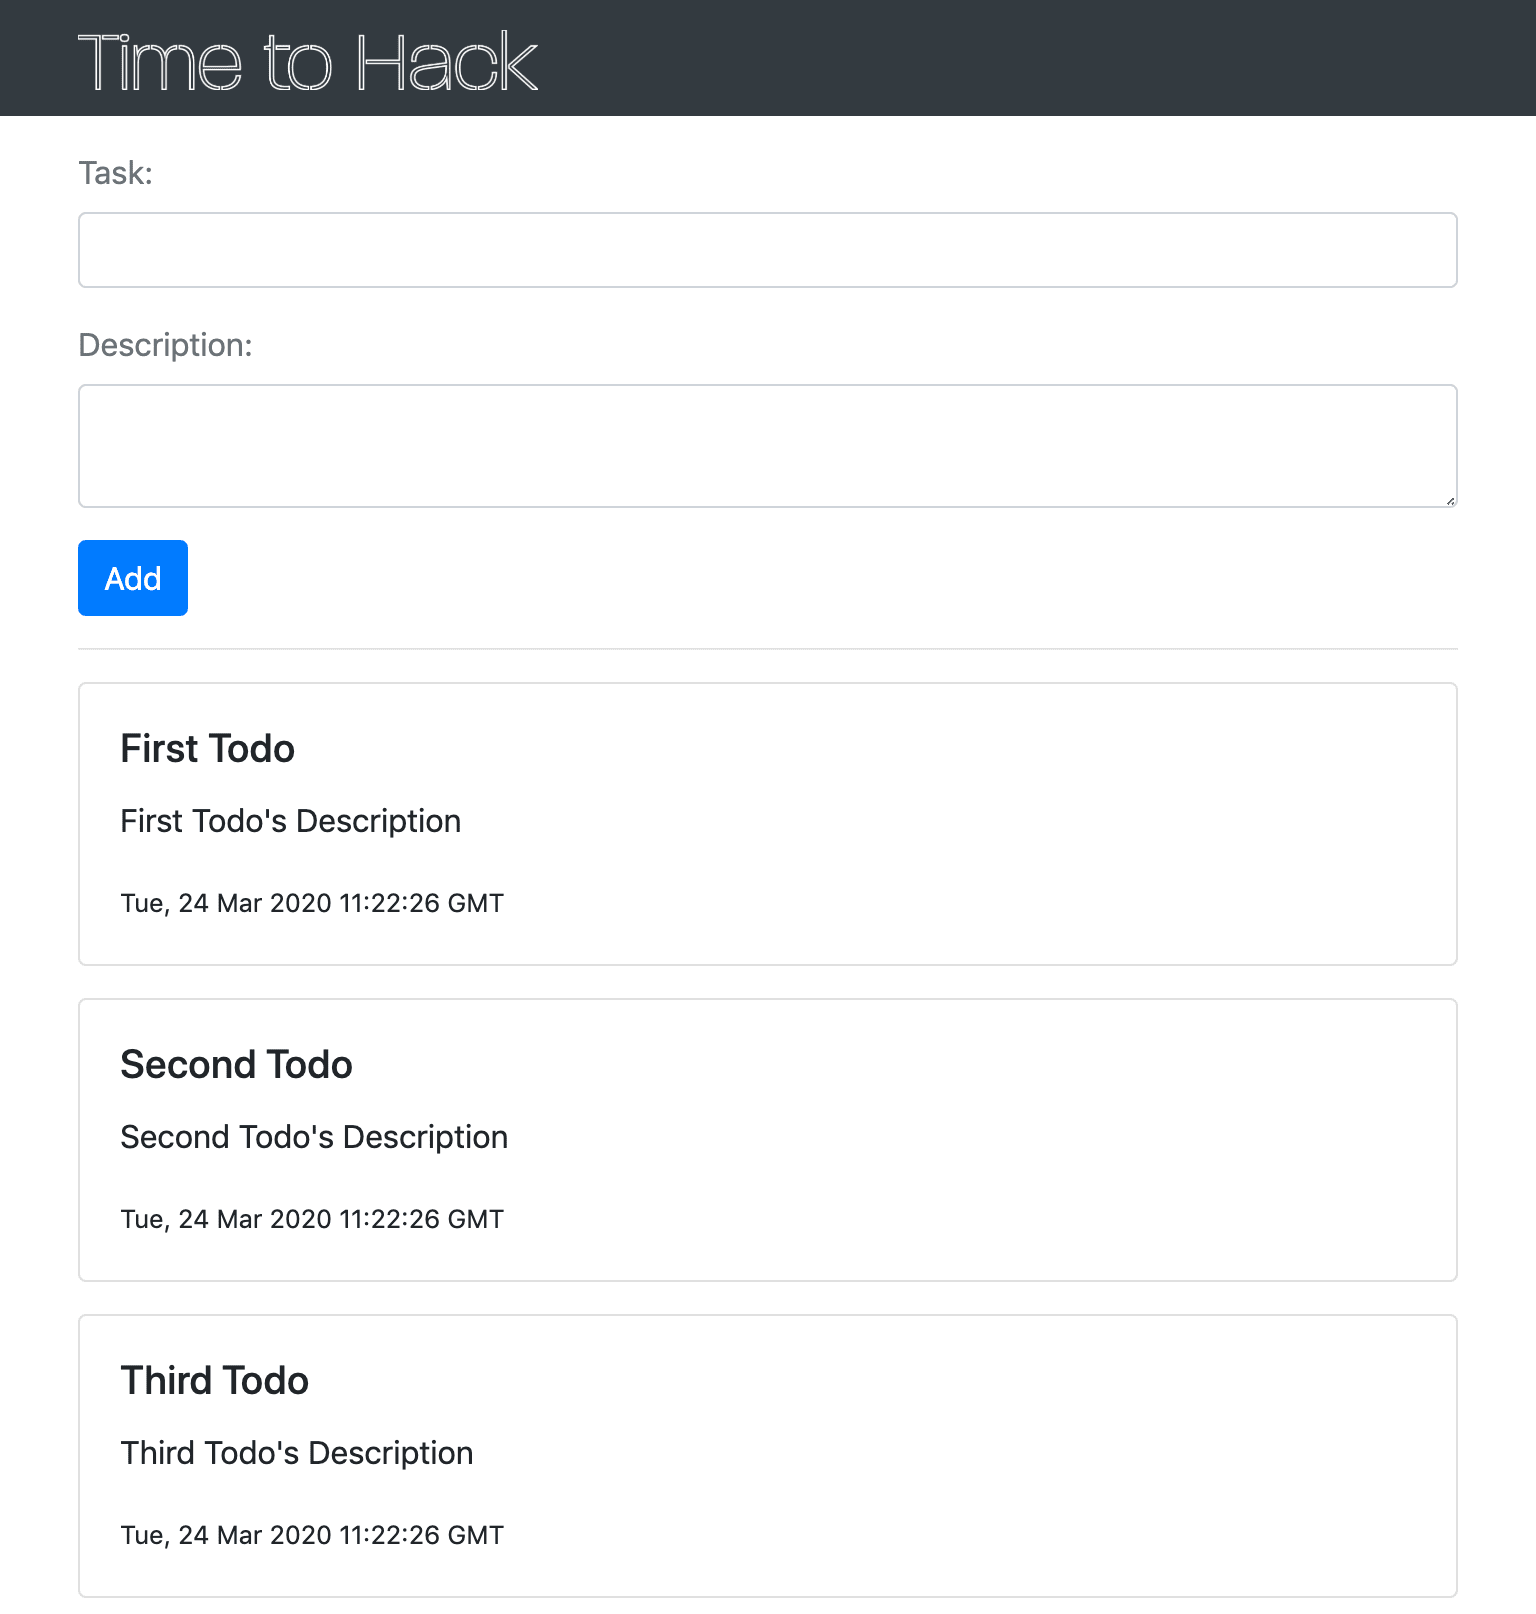
Now our todo app is in place.
At this state, our app looks like the following:
Now to make our app more customisable, we will add some configurations, like as follows:
const app = {
  title: "Time to Hack",
  url: "https://time2hack.com",
  logo:
    "https://cloudinary.time2hack.com/upload/q_auto:good/t2h-text-banner.png"
};

const config = {
  sortBy: "createdOn",
  sortOrder: "DESC"
};

const sorters = {
  ASC: (a, b) => a[config.sortBy] - b[config.sortBy],
  DESC: (a, b) => b[config.sortBy] - a[config.sortBy]
};

const sorter = sorters[config.sortOrder];

export default {
  ...config,
  app,
  sorter
};
Now let's create a context as in the following file:
import React from "react";

const Config = React.createContext({});
Config.displayName = "Config";

export default Config;
And then seed the value to the Context Provider in the Entry of our app:
  import React, { useState } from "react";
  import Header from "./components/Header";
  import ToDos from "./components/Todos";
  import NewTask from "./components/NewTask";
+ import Config from "./TodoContext";
+ import config from "./config";
  import _tasks from "./_initial";

  const App = () => {
    const [tasks, updateTasks] = useState(_tasks);

    return (
-      <>
+.     <Config.Provider value={config}>
        <Header app={config.app} />
        <div className="container">
          <NewTask addTodo={task => updateTasks([...tasks, task])} />
          <hr />
          <ToDos tasks={tasks} />
        </div>
-      </>
+      </Config.Provider>
    );
  };

  export default App;
Now we can use the useContext hook to use the Context Value in the following header of the app:
import React from "react";

export default ({ app }) => (
  <header className="mb-3">
    <nav className="navbar navbar-dark bg-dark">
      <div className="container">
        <a className="navbar-brand" href={app.url}>
          <img src={app.logo} height="30" alt={app.title} />
        </a>
      </div>
    </nav>
  </header>
);
And use the Sorting Config from Context to list the Tasks is a sorting order:
    import React, { useContext } from "react";
+   import Config from "../TodoContext";

    export const Todo = ({ task, ...extra }) => (
      <div className="card mb-3 bt-3" {...extra}>
        <div className="card-body">
          <h5 className="card-title">{task.text}</h5>
          <p className="card-text">{task.description}</p>
          <div className="footer">
            <small>
              {new Date(task.createdOn).toUTCString()}
            </small>
          </div>
        </div>
      </div>
    );

    export default ({ tasks = [] }) => {
+      const conf = useContext(Config);

      return (
        <>
          {tasks
+           .sort(conf.sorter)
            .map((task, index) => (
              <Todo task={task} key={index} />
            ))}
        </>
      );
    };
And that’s how we can easily use Hooks and Context to manage state and share global app data.
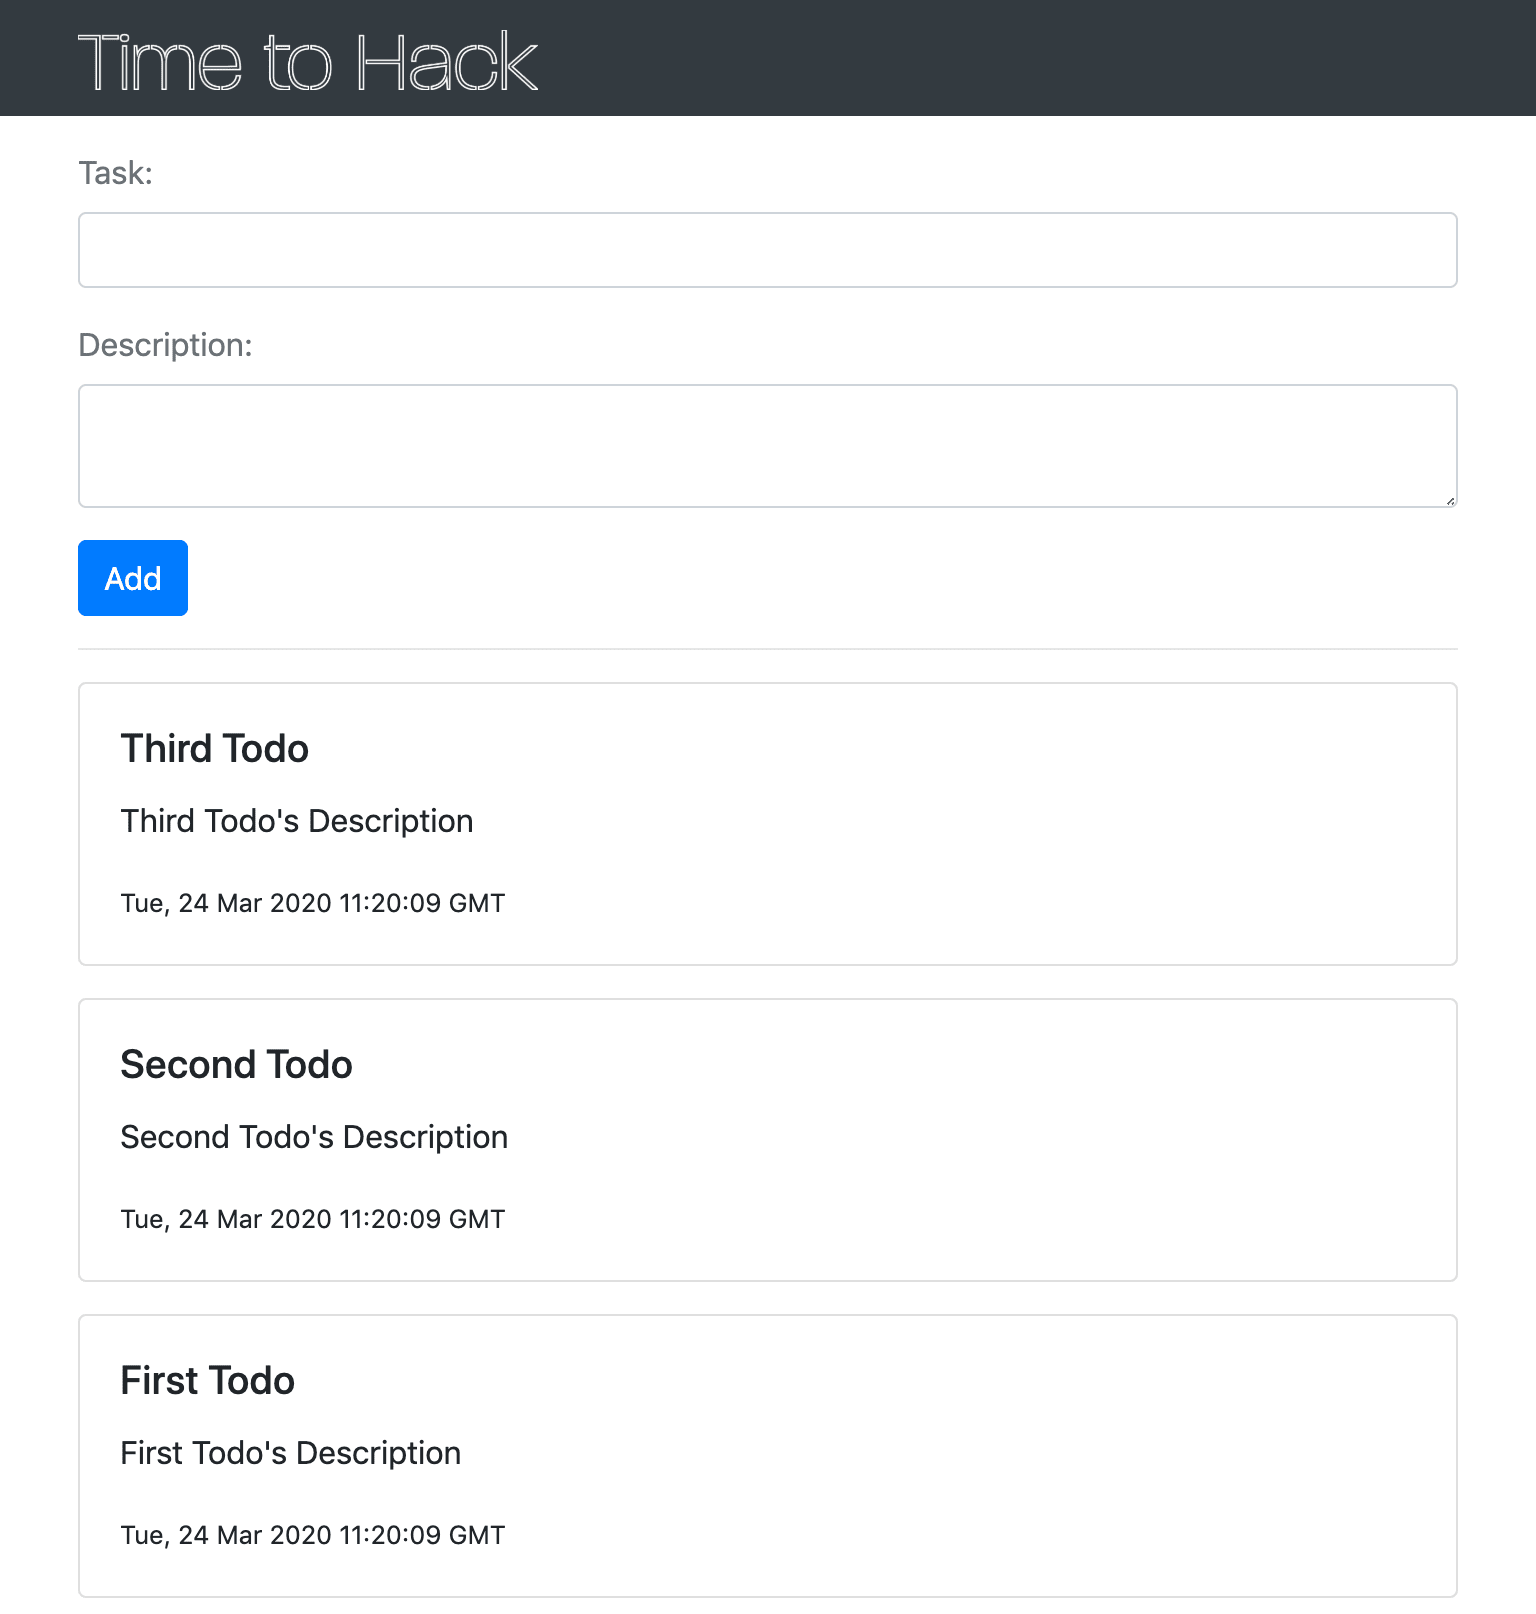
And our app now looks like this:
Conclusion
Here we saw the following things:
- Starting React app with create-react-app
- Using Hooks to maintain state with
useState - Using Context API to share data among components
- Consuming Context data with
useContexthook
What do you think about React Hooks and Context API?
Let me know through comments ? or on Twitter at @heypankaj_ and/or @time2hack.
If you find this article helpful, please share it with others ?
Subscribe to the blog to receive new posts right in your inbox.
Credits
Photo by Filiberto Santillán on Unsplash


