Dockerize PHP app with Apache on HTTPS
Secure websites are crucial these days. By Dockerizing it, let's learn how to enable HTTPS on localhost for a PHP application on Apache.
Recently I came across an application built with the LAMP (Linux, Apache, MySQL and PHP) stack.
And this application was critical enough, and one must not mess with it to break anything or increase maintenance.
But there was one problem, we had to use XAMPP to enable development on this application. XAMPP is a great tool that has served PHP developers for a long time.
And in modern software development, where we talk about shipping the whole platform with IaaC/IaC (Infrastructure as a Code), this development workflow could be more convenient and help the developer's productivity.
After learning a few things about Docker and its benefits and building dockerized CI/CD process, I decided to bring Docker to this application and help future devs with easy onboarding and development.
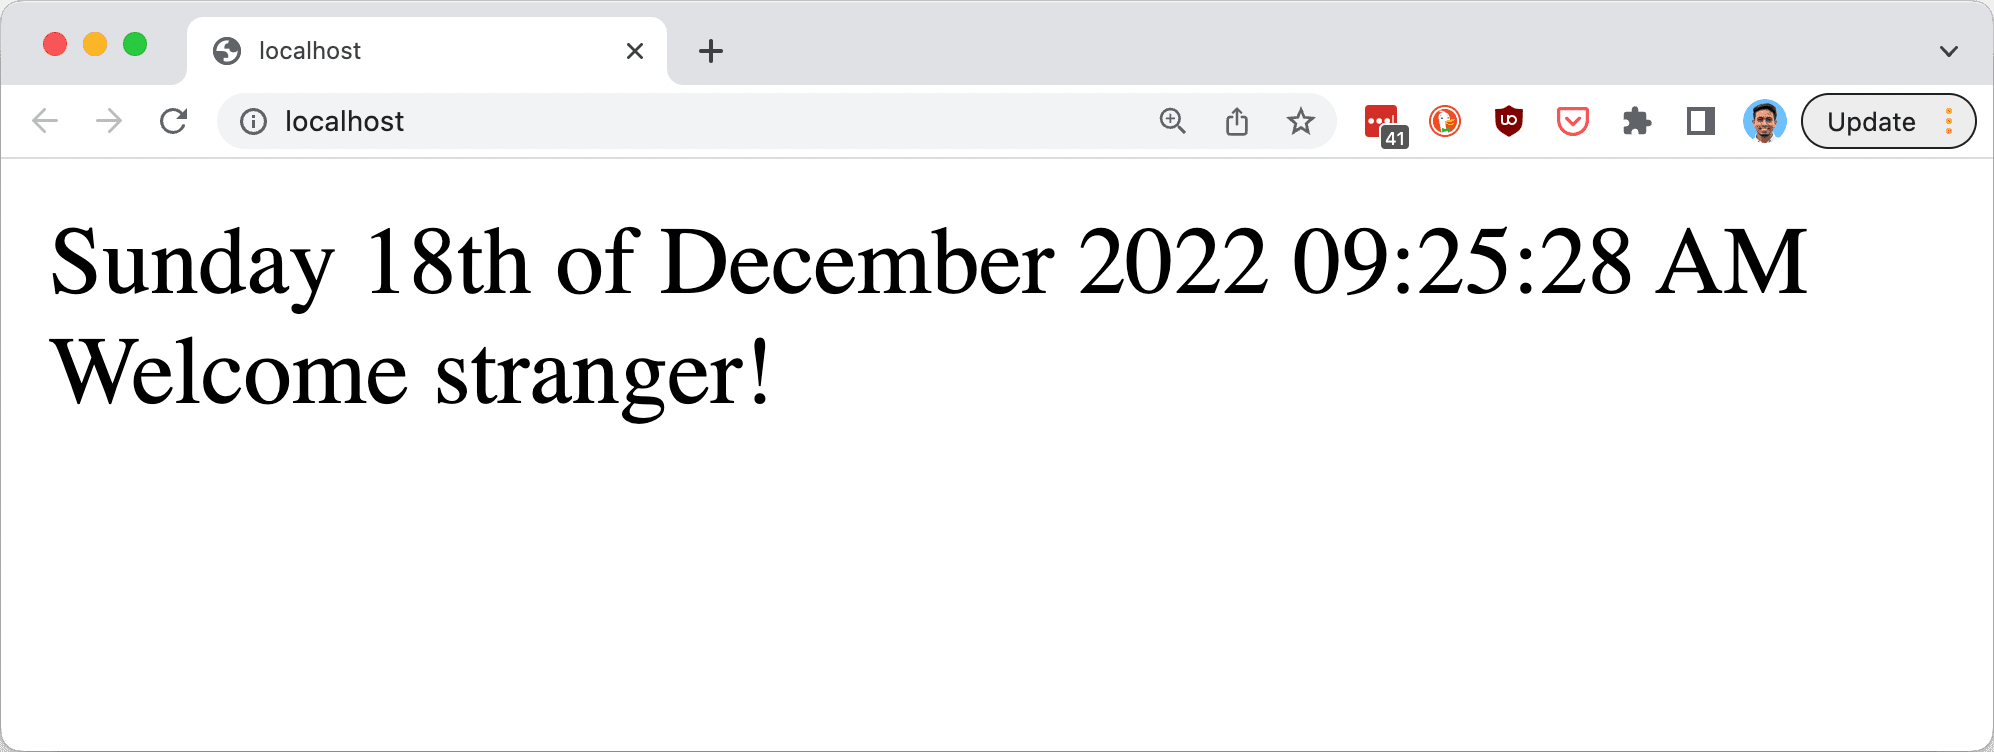
First, let's use a PHP application that shows today's date and greets the visitor nicely.
<!-- File: index.php -->
<?php
echo date('l jS \of F Y h:i:s A');
echo '<br />';
echo 'Welcome stranger!';
We must prepare the docker container for the above PHP file via the Docker file. We could use the Docker compose and use the base image directly, but as we need to enable a few plugins and install a few packages, it is better to prepare our custom image and then use it.
The base image we will use for our PHP application is the official one from php with Apache prepackaged: php:7.3-apache.
As we want to use Apache to serve our PHP application, we must prepare some configurations for Apache. We can use the .conf extension for Apache config files. For the initial setup, it should look like this:
# File: .docker/apache/vhost.conf
LoadModule headers_module /usr/lib/apache2/modules/mod_headers.so

<VirtualHost *:80>
    ServerName localhost
    DocumentRoot /app

    <Directory "/app">
        Options Indexes FollowSymLinks Includes execCGI
        AllowOverride All
        Require all granted
        allow from all
    </Directory>

    ErrorLog ${APACHE_LOG_DIR}/error.log
    CustomLog ${APACHE_LOG_DIR}/access.log combined
</VirtualHost>
And now, the Dockerfile to build the image:
FROM php:7.3-apache

RUN mkdir /app

COPY .docker/apache/vhost.conf /etc/apache2/sites-available/000-default.conf

WORKDIR /app

RUN chown -R www-data:www-data /app && a2enmod rewrite
With the above Dockerfile, we must prepare a docker-compose file to ease the bootstrapping service.
version: "3"

services:
  my-app:
    build:
      context: .
      dockerfile: .docker/Dockerfile
    image: my-app
    environment:
      - "APACHE_LOG_DIR:/app"
    ports:
      - 80:80
    volumes:
      - .:/app
We can run the following command and start our container with the simple Docker compose file above.
docker-compose up -d --buildAnd you can see the command to run for a while if you run it for the first time, but subsequent runs will be fast to start the container.

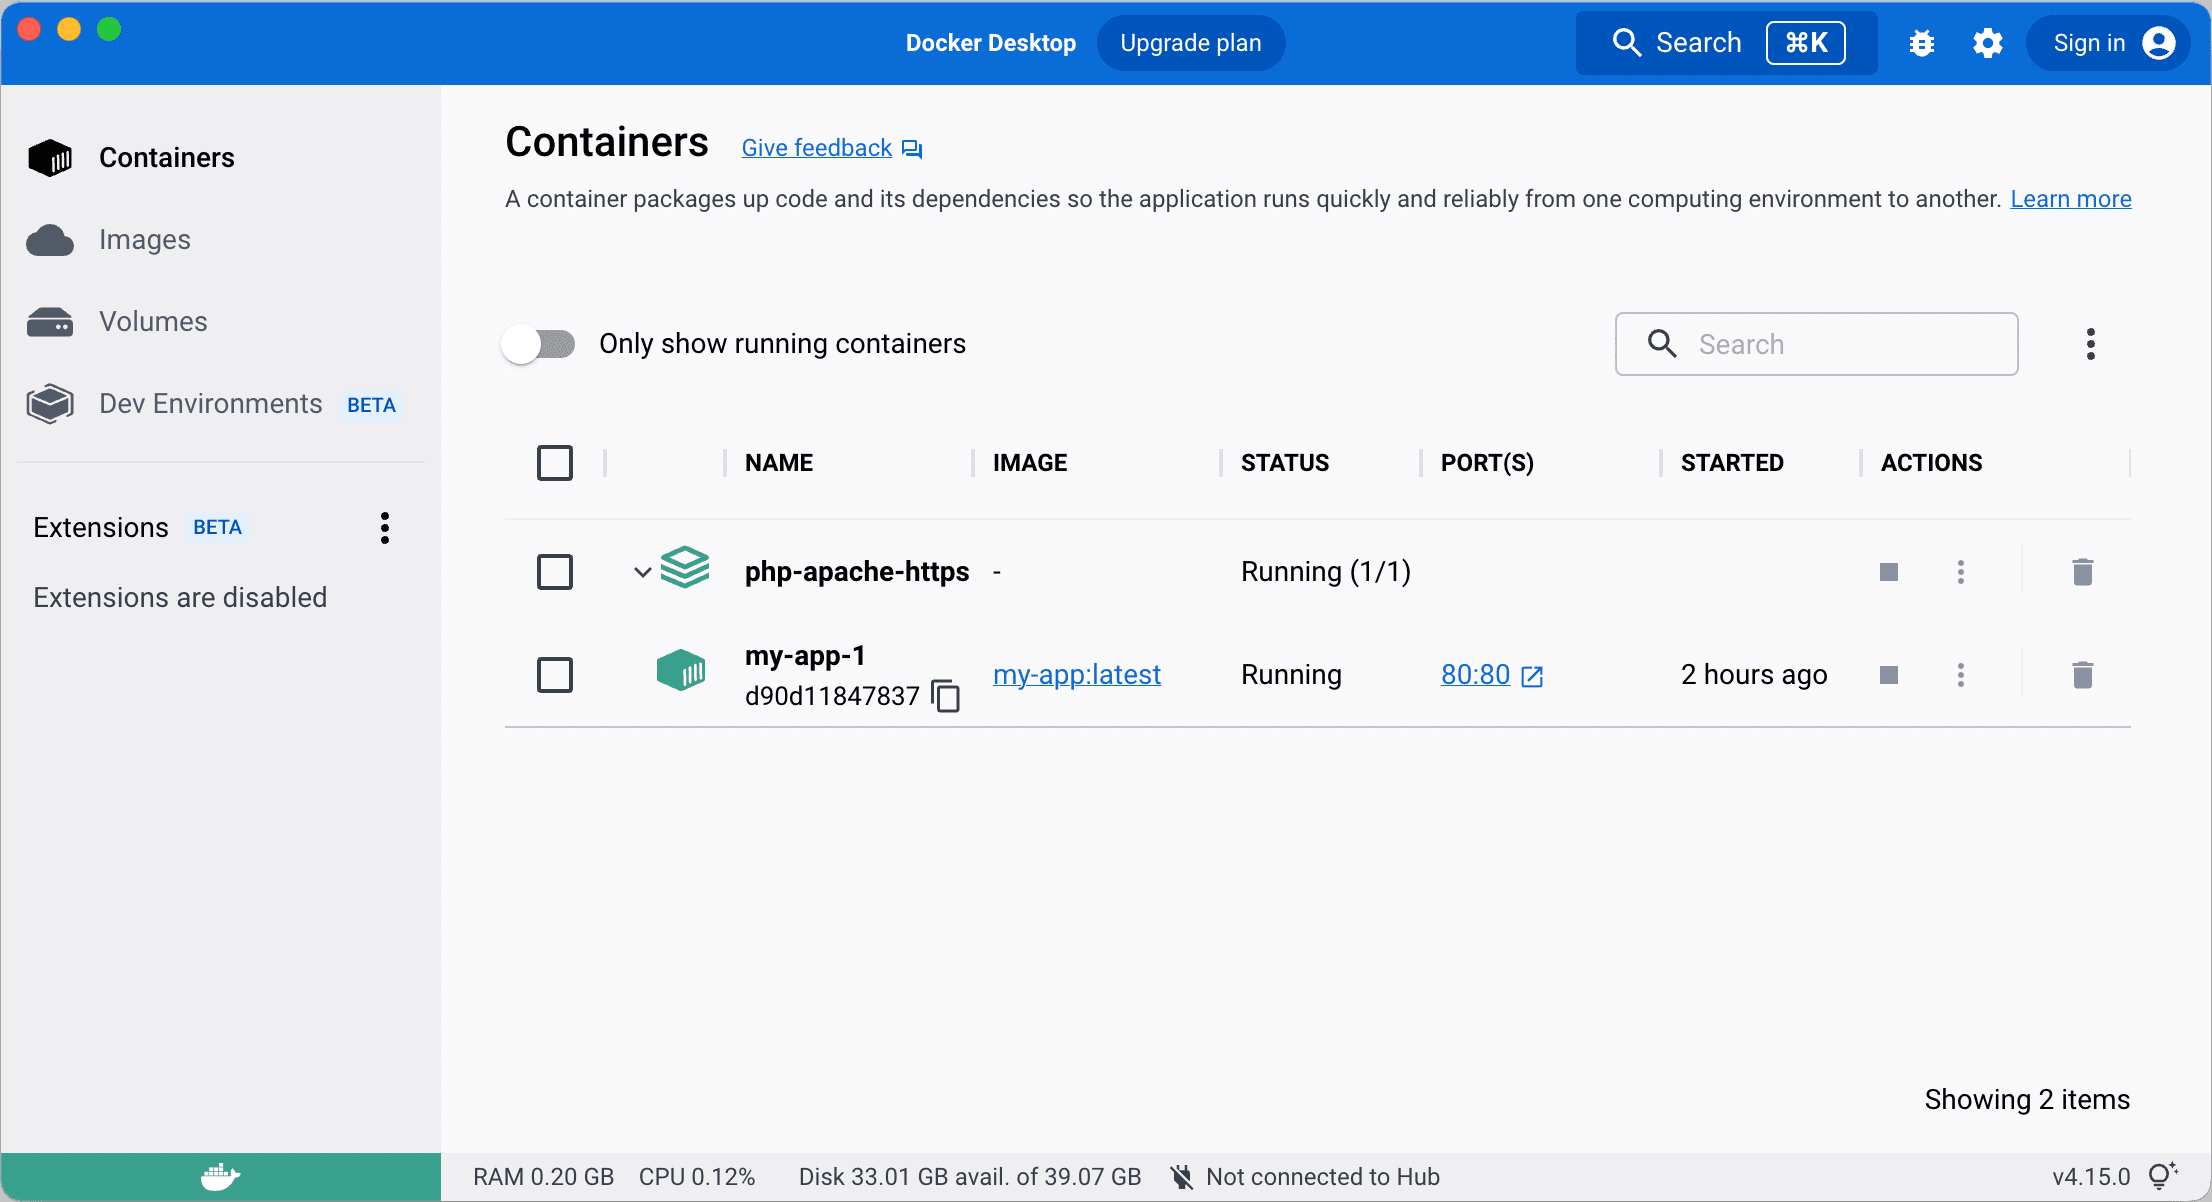
You can visit http://localhost to see if the app is working fine or not.
HTTPS
Most internet websites are moving to secure client and server connections. Even Search Engines penalize websites for not serving content with HTTPS.
It is crucial to develop the applications with a secure protocol. For most web applications, HTTPS is handled by the web server. Apache, in our case of the post.
Let's add support for HTTPS on put PHP+Apache application.
First, we must tell Apache via Virtual Hosts to serve the website on a Secure port, i.e., 443.
We would do so with the following entry on the config file we created earlier.
LoadModule ssl_module /usr/lib/apache2/modules/mod_ssl.so

# ... VirtualHost Entry for HTTP port

<VirtualHost _default_:443>

  DocumentRoot "/app"
  ServerName localhost:443
  ErrorLog ${APACHE_LOG_DIR}/error.log
  CustomLog ${APACHE_LOG_DIR}/access.log combined

  SSLEngine on

  SSLCertificateFile "/etc/apache2/sites-available/ssl/localhost.crt"
  SSLCertificateKeyFile "/etc/apache2/sites-available/ssl/localhost.key"

  <FilesMatch "\.(cgi|shtml|phtml|php)$">
      SSLOptions +StdEnvVars
  </FilesMatch>

  <Directory "/app">
      Options Indexes FollowSymLinks Includes execCGI
      AllowOverride All
      Require all granted
  </Directory>

</VirtualHost>
A few notable things we did above are:
- Load the SSL Module
- Turn the SSL Engine On for the matching server address
- Provide the SSL Certificate files
- Set additional options for SSL when serving specific files
With the above config, we need to do two more things:
- Install and Enable the SSL module for the Apache web server
- Generate Certificate and Key files to use with the
localhostand mount them on the right path
Installing and Enabling SSL Module
Apache installation comes bundled with the SSL Module. And all we have to do is to enable this module for the Apache server.
On a server where the Apache server is running, we need to trigger the following command to enable the SSL module:
a2enmod sslBut for our docker setup, we need to do this while building the container. And for that, we will need to adjust the last line of the Dockerfile as:
- RUN chown -R www-data:www-data /app && a2enmod rewrite
+ RUN chown -R www-data:www-data /app && a2enmod rewrite ssl
Generating Certificate files
We don't have any high-level signing authority. We can use the OpenSSL CLI tool to generate the SSL Certificate files. This should work for local development purposes.
The following command will generate the certificate files:
openssl req -x509 -out localhost.crt -keyout localhost.key \
  -newkey rsa:2048 -nodes -sha256 \
  -subj '/CN=localhost' -extensions EXT -config <( \
   printf "[dn]\nCN=localhost\n[req]\ndistinguished_name = dn\n[EXT]\nsubjectAltName=DNS:localhost\nkeyUsage=digitalSignature\nextendedKeyUsage=serverAuth")
After generating these files, we should place them in the following location relative to the root of the project:
<project-root>/.docker/apache/localhost.crt
<project-root>/.docker/apache/localhost.key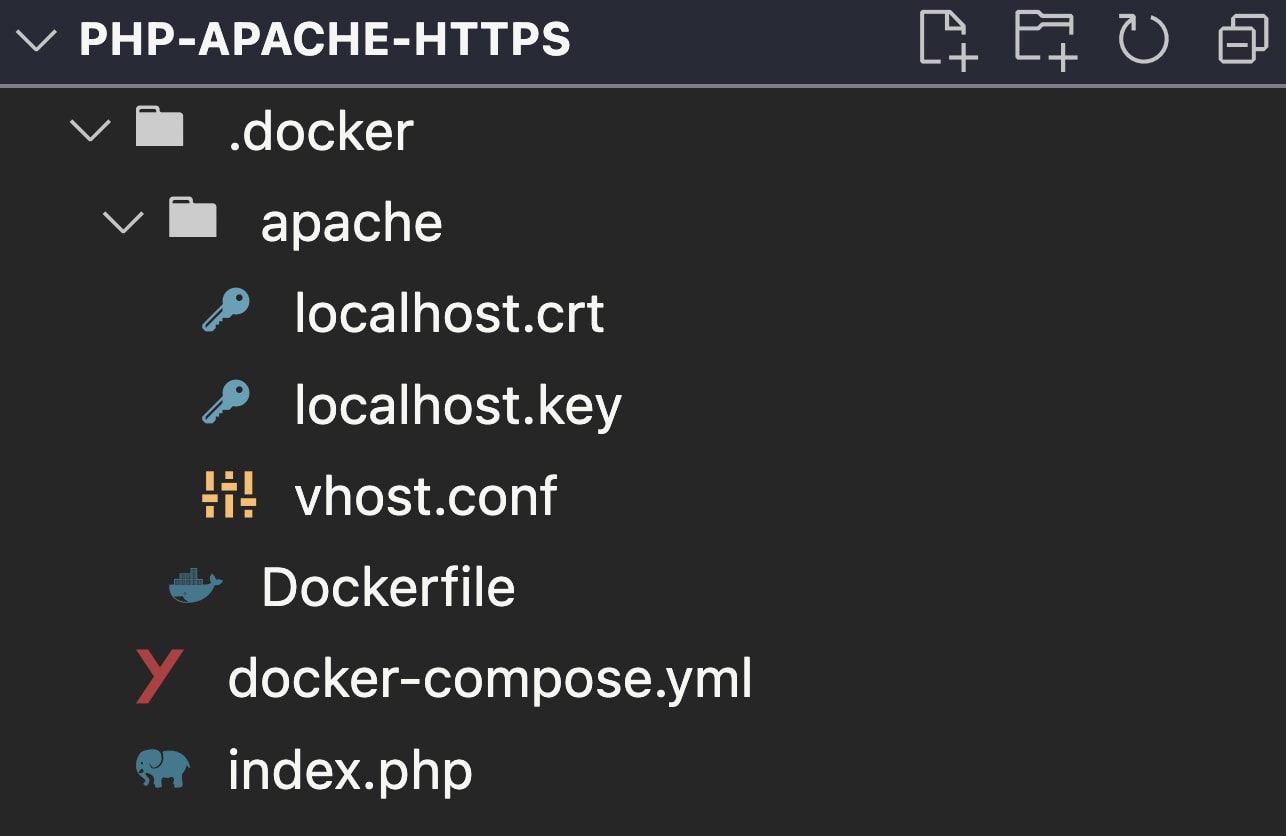
After placing the files correctly, we need to create the following placeholder directory on the server build.
/etc/apache2/sites-available/sslSo, to create this directory, we will add the following line to our Dockerfile before COPY commands
...

RUN mkdir /etc/apache2/sites-available/ssl

...
After everything, this is how our Dockerfile should look like this:
FROM php:7.3-apache

RUN mkdir /app

RUN mkdir /etc/apache2/sites-available/ssl

COPY .docker/apache/vhost.conf /etc/apache2/sites-available/000-default.conf

WORKDIR /app

RUN chown -R www-data:www-data /app && a2enmod rewrite ssl
Providing Certificates to Apache
As the Server building is in place, we will now look at the server execution, i.e. executing the Dockerfile and providing the certificates at that time.
As we created docker-compose file earlier; we will now mount the certificates in the directory we created in the Dockerfile (/etc/apache2/sites-available/ssl)
...
    volumes:
      - ./.docker/apache:/etc/apache2/sites-available/ssl
      - .:/app
With the above change, our docker-compose.yml file should look like this:
version: "3"

services:
  my-app:
    build:
      context: .
      dockerfile: .docker/Dockerfile
    image: my-app
    environment:
      - "APACHE_LOG_DIR:/app"
    ports:
      - 80:80
      - 443:443
    volumes:
      - ./.docker/apache:/etc/apache2/sites-available/ssl
- .:/appIt encourages me a lot to share more of my learnings.
With all the setup done, we will execute the following command again:
docker-compose up -d --build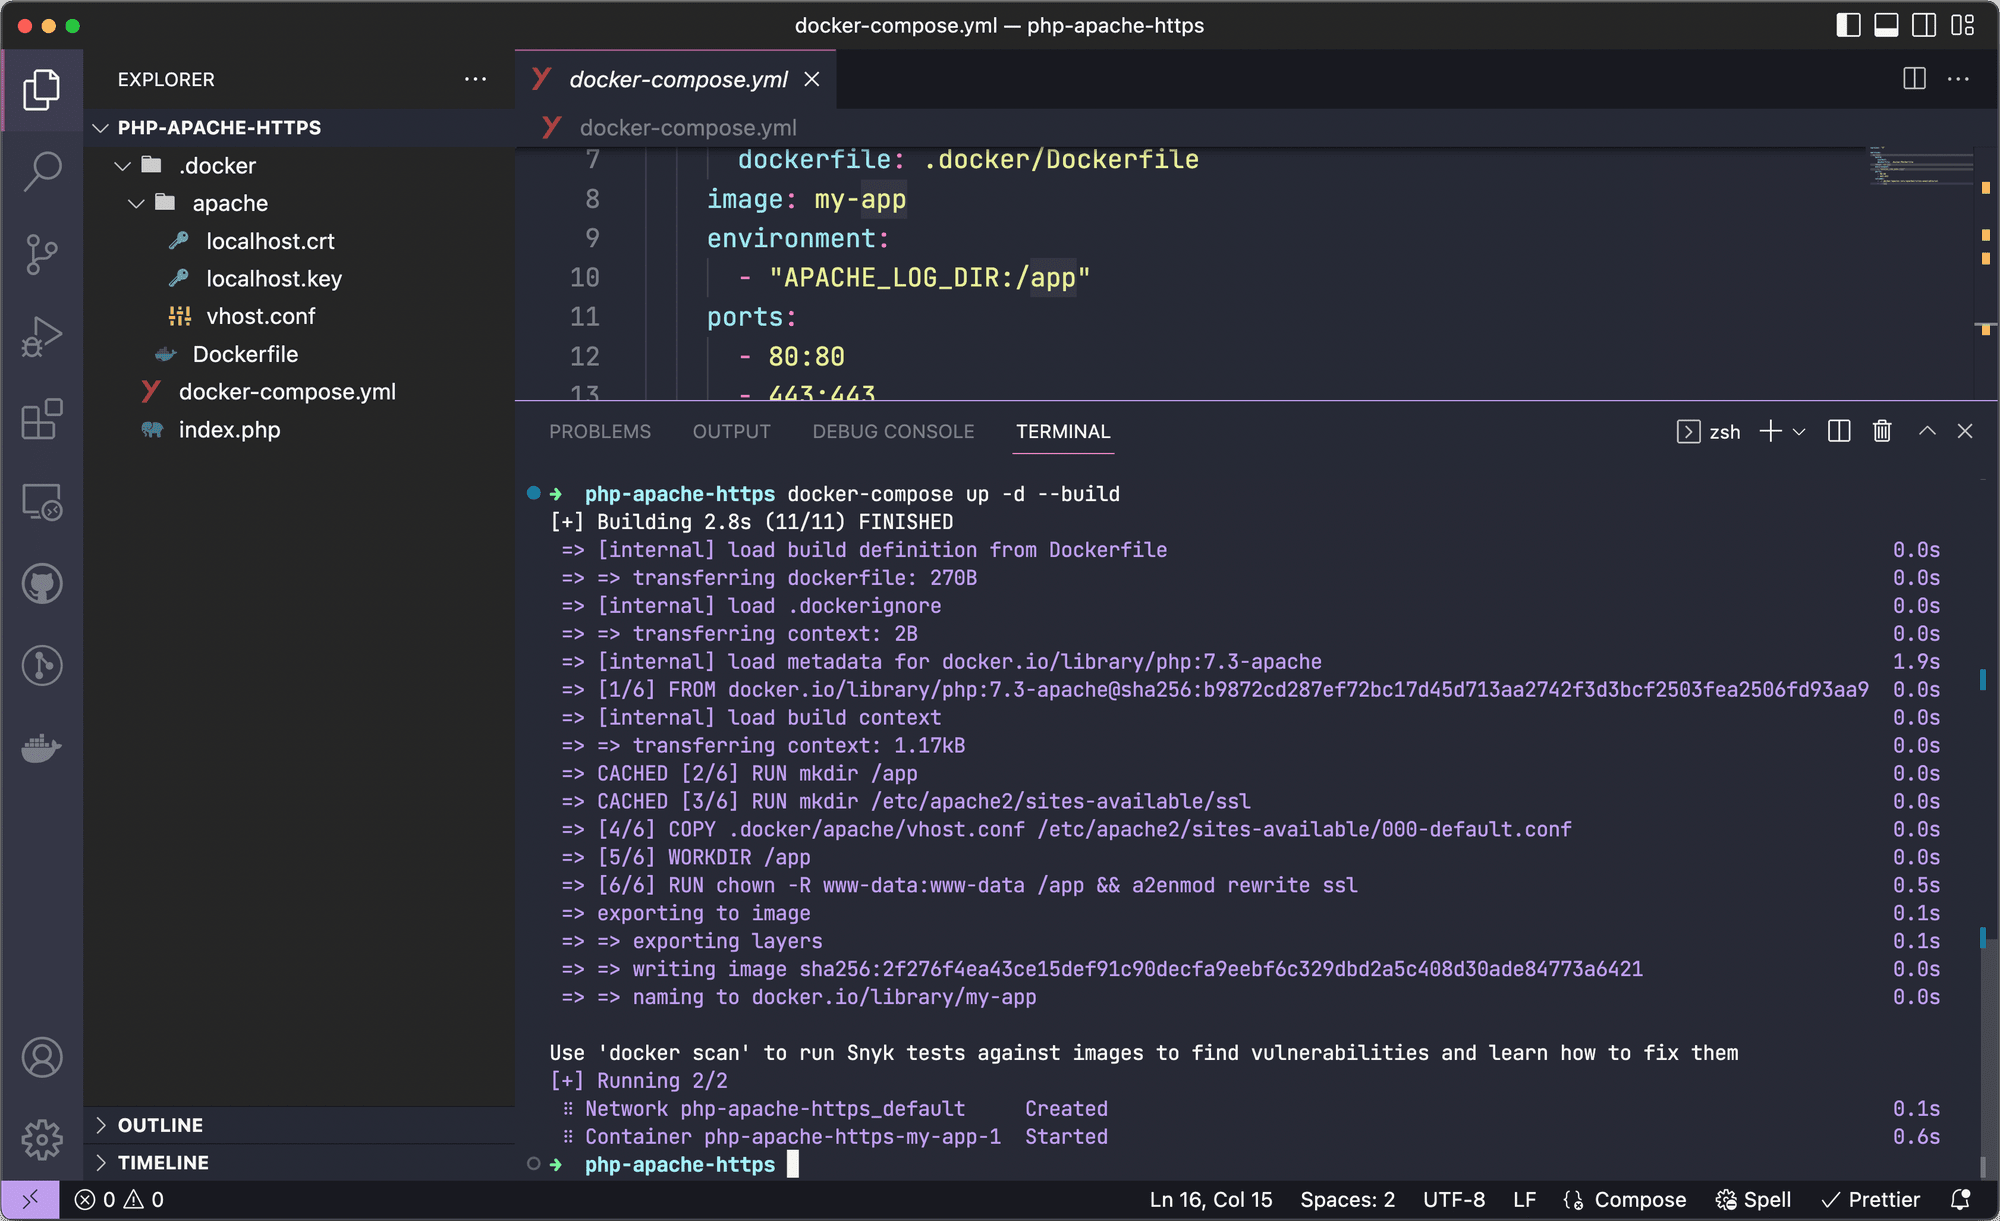
Now, if we check in Docker Dashboard:
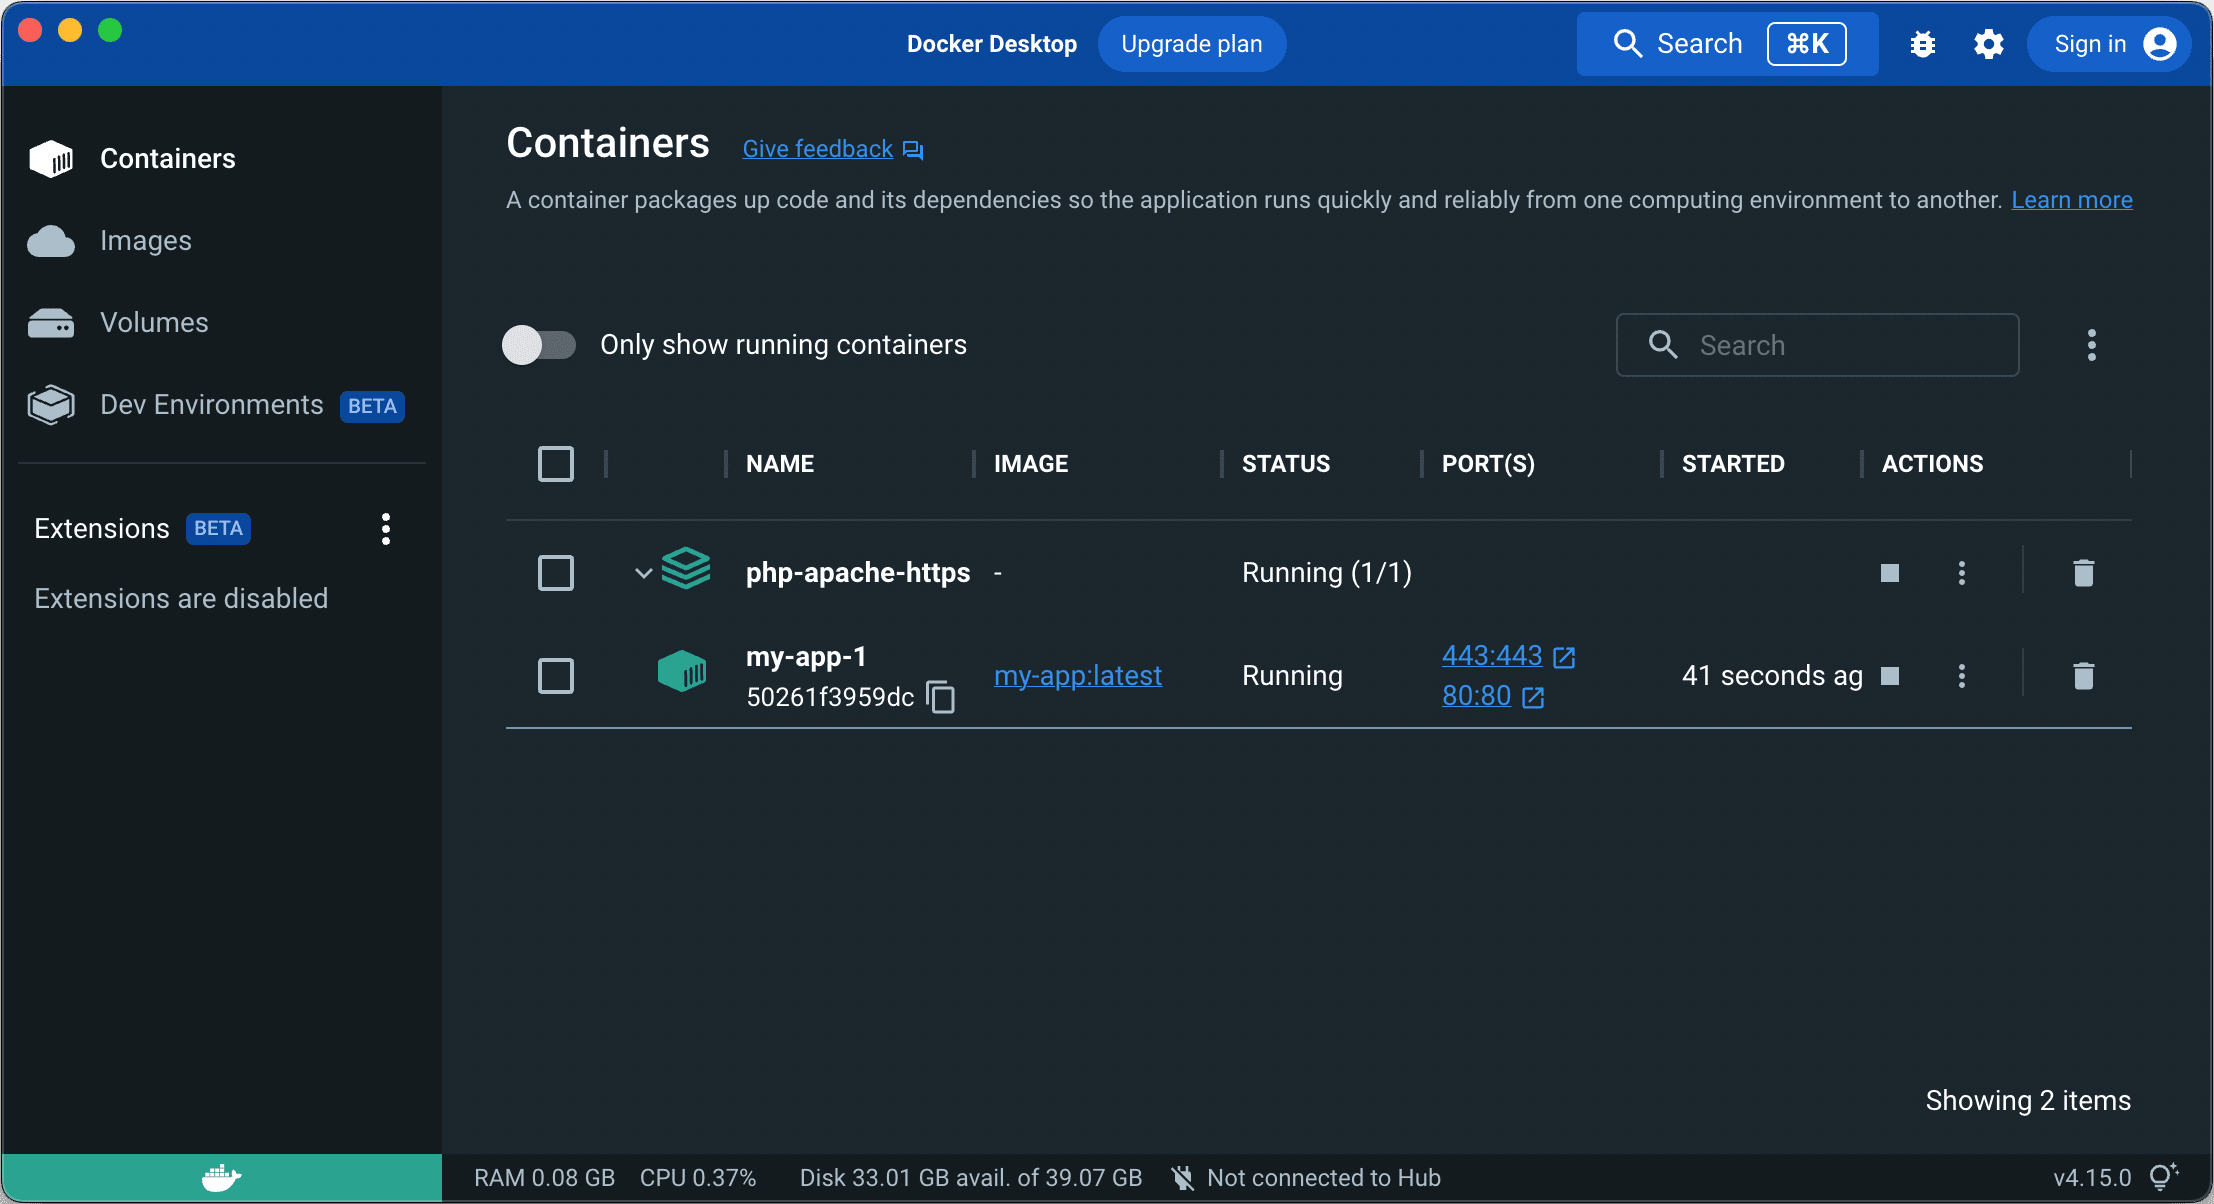
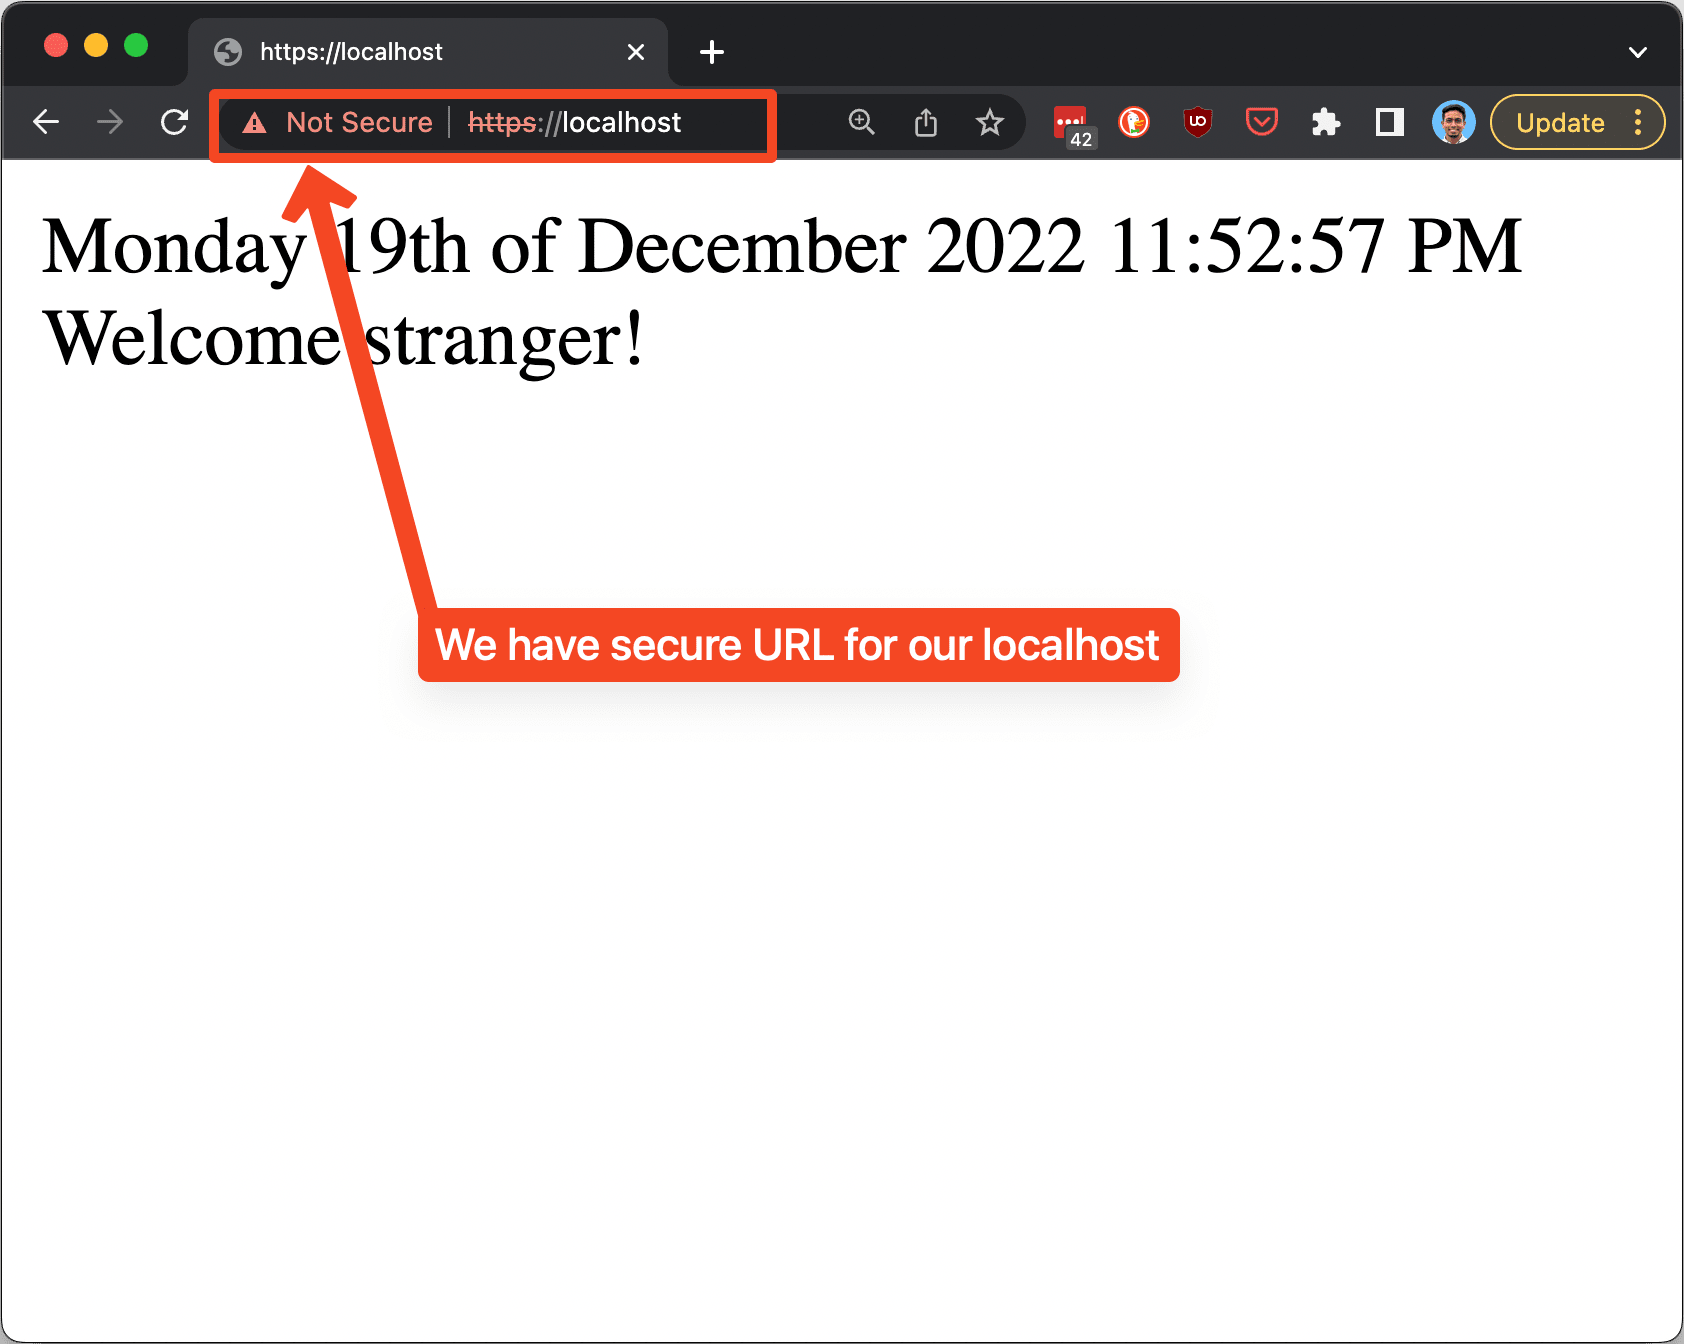
And when we try to go to the application with https: https://localhost, it will show the warning.
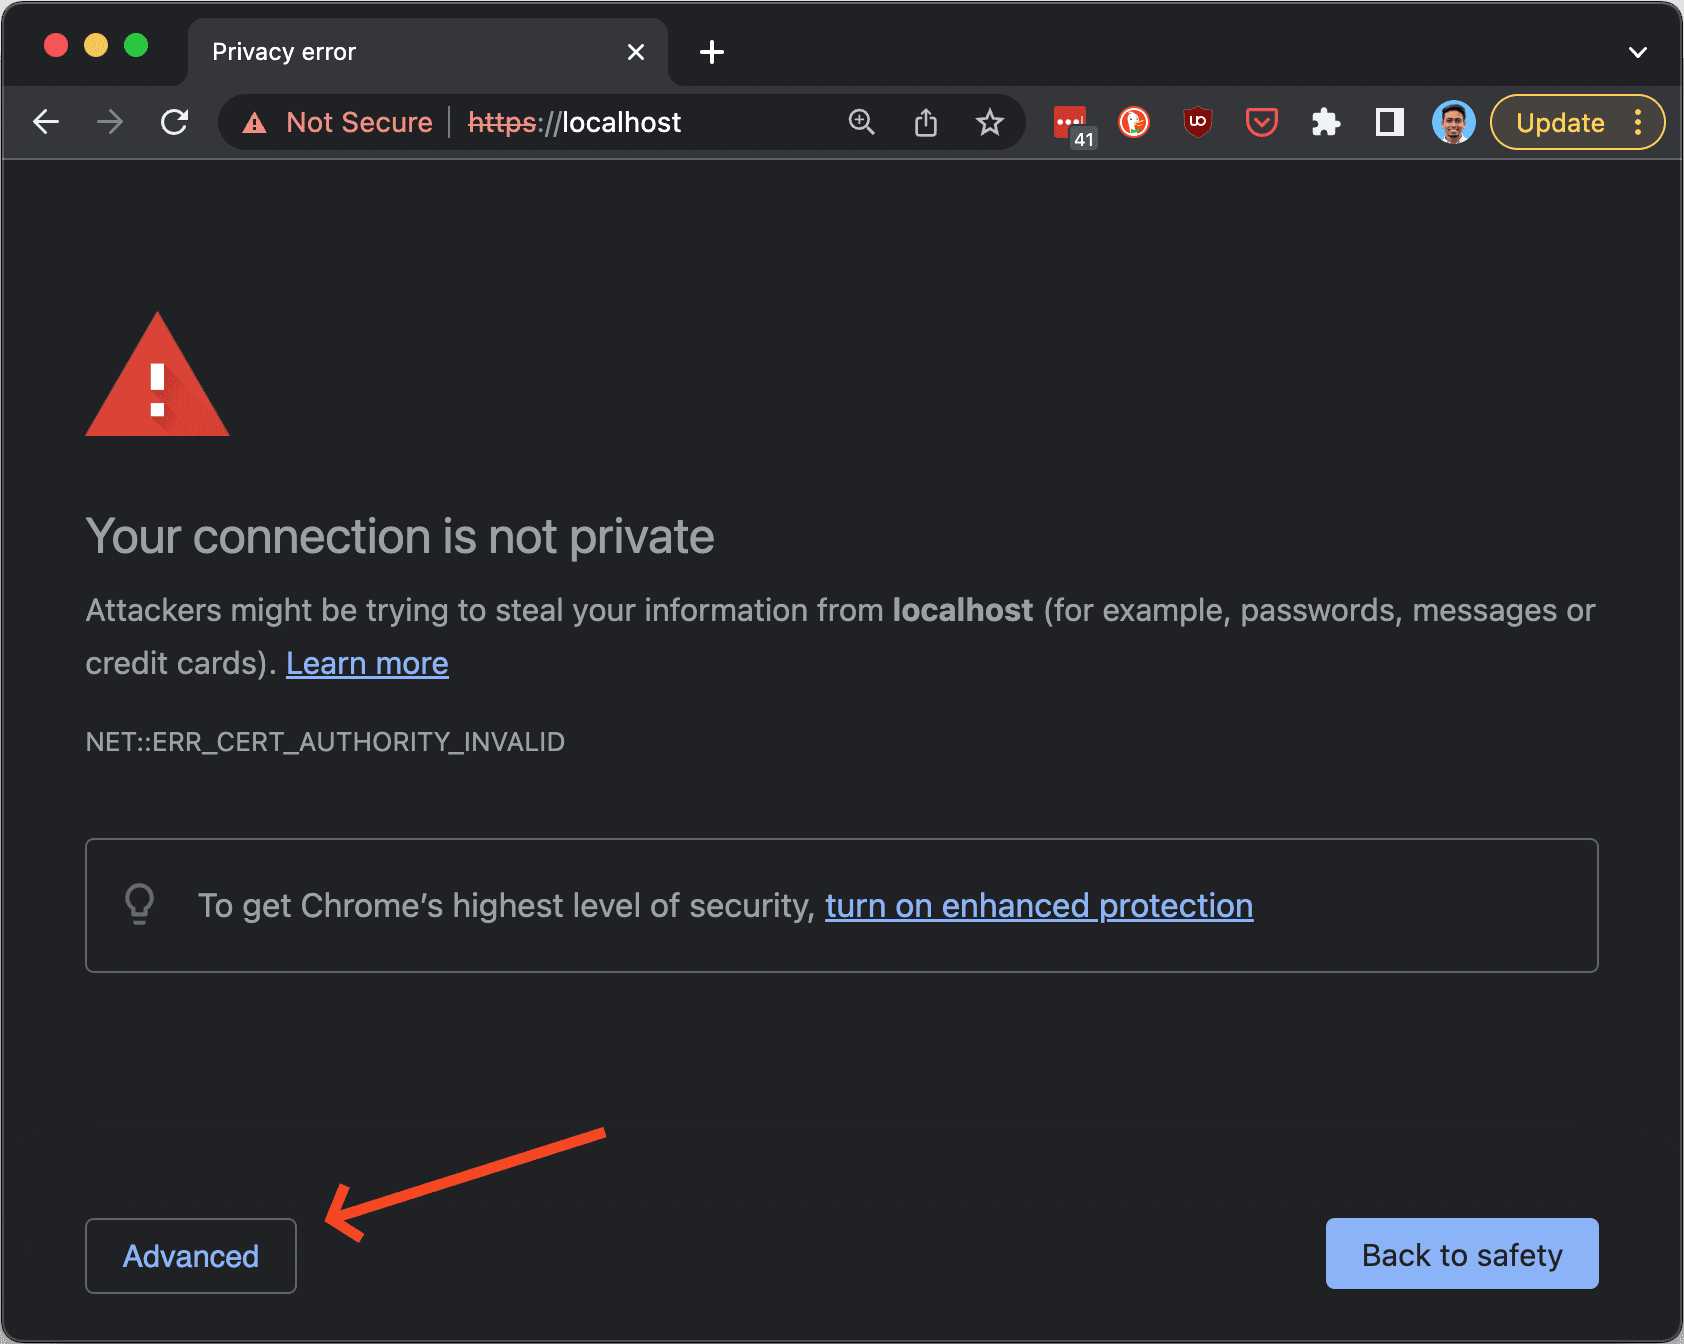
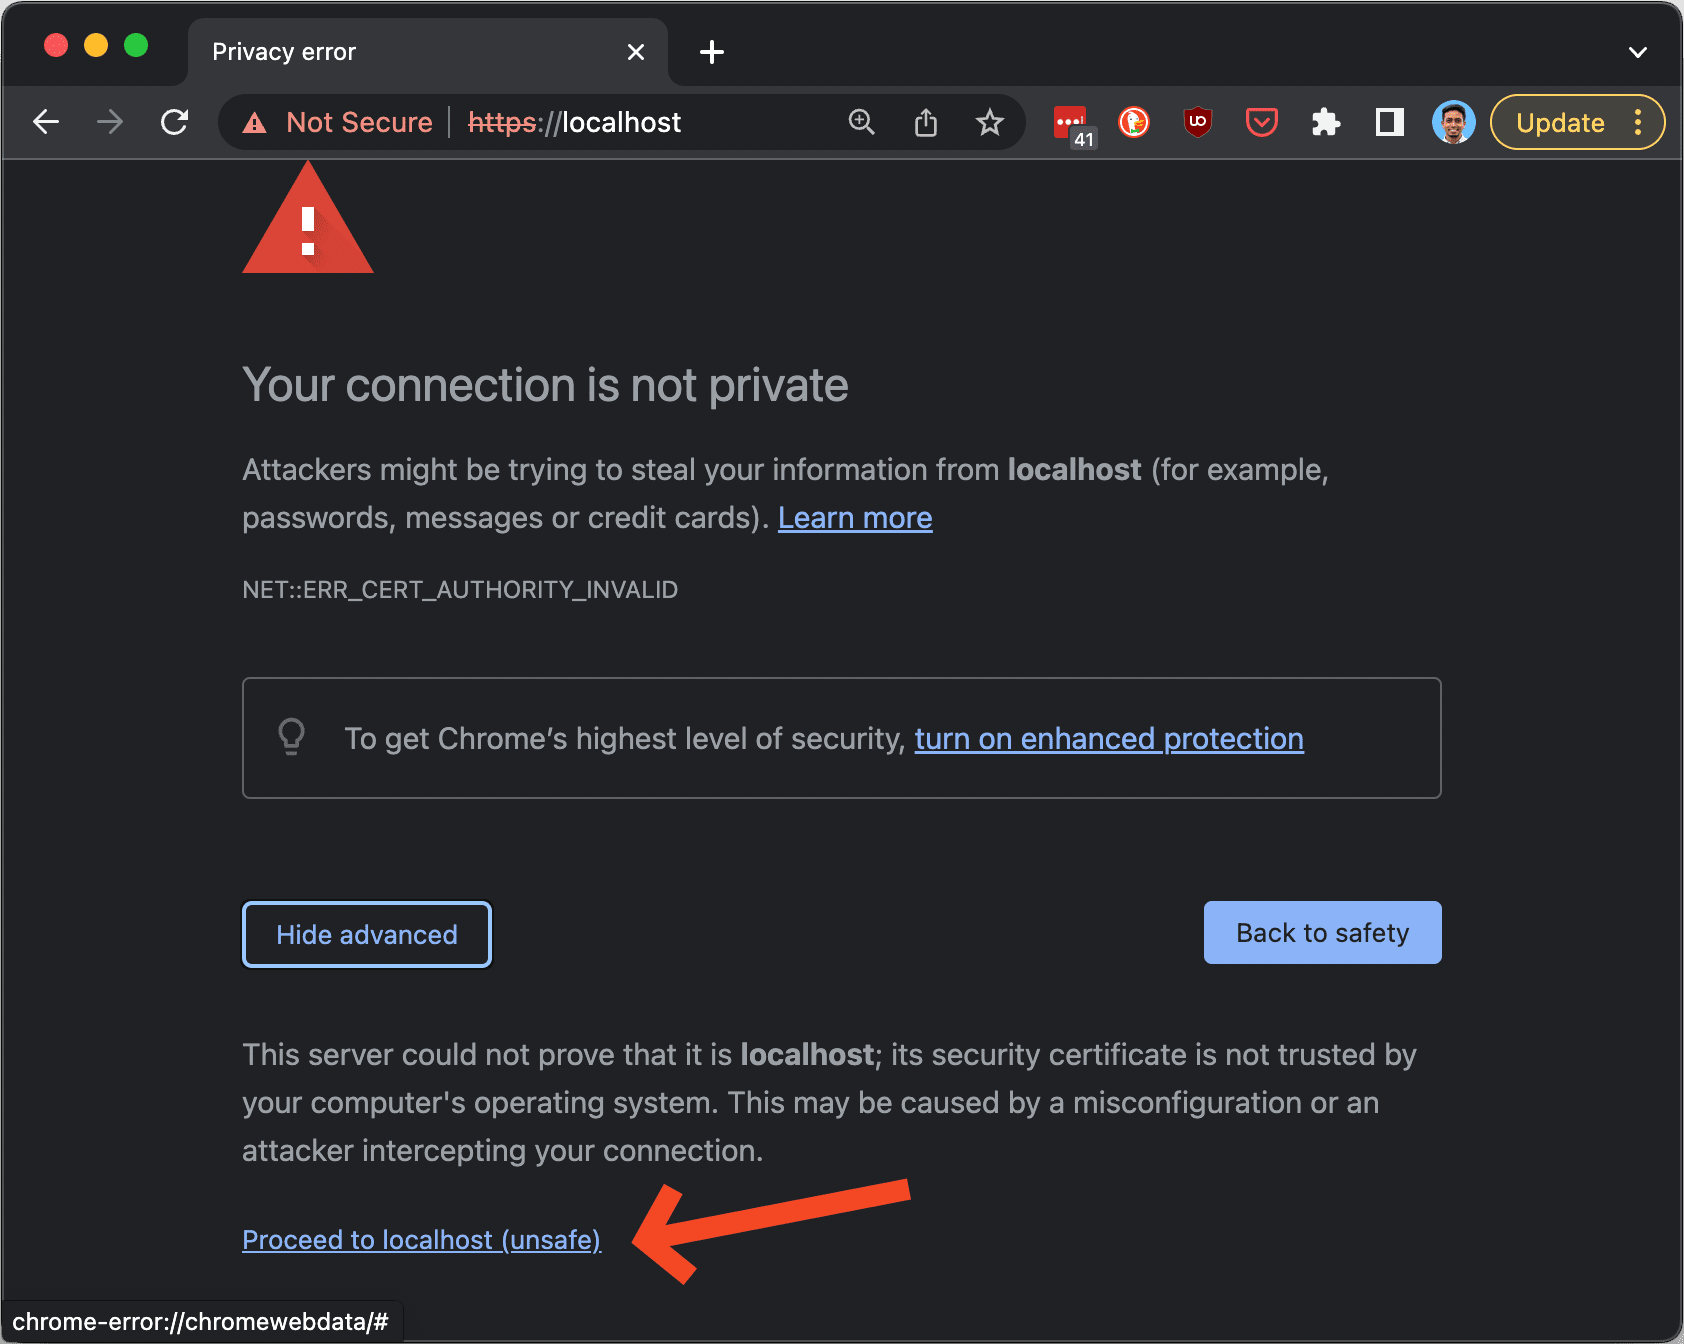
It is normal as the certificates are locally generated. You can go to the Advanced section of the warning and proceed to the site anyway.
https://github.com/time2hack/php-apache-https
Conclusion
We looked at a basic server on PHP and Apache and then Dockerized it to enable HTTPS.
Further steps we can go for are
- Use signed certificates, like those from LetsEncrypt
- Use other services like MySQL etc., in the above stack
Have you managed to enable HTTPS for your local development?
What is your stack and process to enable HTTPS?
Let me know through comments. or on Twitter at @heypankaj_ and/or @time2hack
If you find this article helpful, please share it with others.
Subscribe to the blog to receive new posts right in your inbox.

