
Creating CRUD REST API in Node.js with Express & MySQL
Applications communicate with each other with APIs & key to making versatile applications. Let's see how to make REST API in Node.js with Express and MySQL


APIs are the way applications communicate with each other. And APIs are the way to make versatile applications.
With one API and multiple frontends OR multiple micro APIs and multiple frontends, there is no doubt that API development is the core of scalable and manageable applications.
This post is sponsored by McAfee

In this post, we will talk about creating a REST API on Node.js with Express and MySQL.
First things first, essential prerequisites for this article to follow up are:
First, let's start with project initialization i.e. git, npm etc.
npm init -YHTTP Server
We need to add express and related dependencies to get up and running with the HTTP server.
npm i -S express body-parser
Express is a framework for API development on Node.js; similar tools in this area are:
Now we set the basic express app server with the following server.js file:
const express = require('express')
const app = express()
const port = 3000

app.get('/', (req, res) => res.send('Hello World!'))

app.listen(port, () => console.log(`Example app listening on port ${port}!`))
As you can see, like with the function call app.get
- We are defining a Route on our server
- The server will respond to GET calls for this Route
- The Callback will handle it in the following way:
(req, res) => res.send('Hello World!');
And for this route, the response will beHello WorldString.
And if we write the same line as follows:
app.post('/', (req, res) => res.send('Hello POST World!'))This is the same as GET, except with the .post method, the server with .post the method will respond to POST requests on these Routes with a string Hello POST World
You can send the same response to all HTTP methods with the .all method as:
app.all('/ping', (req, res) => res.send(+new Date()))Database Access & CRUD
We are using MySQL Database here, so we need to set up the database access for Node.js.
For that, we will need mysql package for Node.js. Let's go ahead and install the package as the primary dependency.
npm i -S mysqlAfter installing mysql, we can write our basic code to connect to the database and then get data from a table. It can be written as follows:
const mysql = require('mysql');

// Get the Host from Environment or use default
const host = process.env.DB_HOST || 'localhost';

// Get the User for DB from Environment or use default
const user = process.env.DB_USER || 'root';

// Get the Password for DB from Environment or use default
const password = process.env.DB_PASS || '';

// Get the Database from Environment or use default
const database = process.env.DB_DATABASE || 'twitter_clone';

// Create the connection with required details
const con = mysql.createConnection({
  host, user, password, database,
});

const query = "SELECT * FROM tweets";

// make to connection to the database.
con.connect(function(err) {
  if (err) throw err;

  // if connection is successful
  con.query(query, (err, result, fields) => {
    // if any error while executing above query, throw error
    if (err) throw err;

    // if there is no error, you have the result
    console.log(result);
 });
});
Here we are making a connection to the database with mysql.createConnection function and then using the connection reference to fire a Select query to the Database with connection.query function.
Both functions use callbacks with the first error parameter, which will tell us if any error occurred while executing the provided command.
We can convert the above code to async/await or Promise style with the help of the following functions:
Connect as a Promise
// connect
const mysql = require('mysql');

module.exports = async (params) => new Promise(
(resolve, reject) => {
  const connection = mysql.createConnection(params);
  connection.connect(error => {
	  if (error) {
      reject(error);
      return;
    }
    resolve(connection);
  })
});
Query as a Promise
// query
module.exports = async (conn, q, params) => new Promise(
(resolve, reject) => {
  const handler = (error, result) => {
    if (error) {
      reject(error);
      return;
    }
    resolve(result);
  }
  conn.query(q, params, handler);
});
Now we merge the basic express app, promise-based MySQL connection & query; the code to connect and the query should look like this:
const express = require('express')

const dbConfig = require('./dbConfig');
// ↑ exports = {user, password, host, database}

const connection = require('./helpers/connection');
const query = require('./helpers/query');

const app = express()
const port = 3000;

app.get('/', (req, res) => res.send('Hello World!'))

app.get('/list', async (req, res) => {
  const conn = await connection(dbConfig).catch(e => {})
  const results = await query(conn, 'SELECT * FROM tweets').catch(console.log);
  res.json({ results });
})

app.listen(port, () => console.log(`Example app listening on port ${port}!`))
The above code will follow the following DB schema:
CREATE TABLE users(
    id int NOT NULL AUTO_INCREMENT,
    username varchar(15) NOT NULL,
    password varchar(32) NOT NULL,
    followers int DEFAULT 0,
    following int DEFAULT 0,
    tweets int DEFAULT 0,
    PRIMARY KEY (id)
);

CREATE TABLE following(
    id int NOT NULL AUTO_INCREMENT,
    user1_id int REFERENCES `users` (`id`) ON DELETE CASCADE ON UPDATE CASCADE,
    user2_id int REFERENCES `users` (`id`) ON DELETE CASCADE ON UPDATE CASCADE,
    PRIMARY KEY (id)
);

CREATE TABLE tweets(
    id int NOT NULL AUTO_INCREMENT,
    username varchar(15) NOT NULL,
    user_id int REFERENCES `users` (`id`) ON DELETE CASCADE ON UPDATE CASCADE,
    tweet varchar(140) NOT NULL,
    timestamp TIMESTAMP NOT NULL DEFAULT CURRENT_TIMESTAMP,
    PRIMARY KEY (id)
);
############################
# Some Random Data
INSERT INTO USERS(username, password) VALUE('pankaj', MD5('pankaj'));

INSERT INTO TWEETS(username, user_id, tweet) VALUE('pankaj', 1, 'Hello World!');

INSERT INTO TWEETS(username, user_id, tweet) VALUE('pankaj', 1, 'Hello World Again!');
Till now, we have seen the basic arrangement of MySQL Functions. Let's briefly examine how we can arrange our Express app efficiently.
Middleware
Middleware Functions are the functions that transform the server app functionalities in terms of extending the request and/or response and passing them on to the following function or middleware function in the chain.
Request
  → Middleware-1
  → next()
  → Middleware-2
  → Route Handler 1
  → Route handler 2
  → Send Response
  → End
Request to Response Flow
Middleware functions can perform the following tasks:
- Execute any code.
- Make changes to the request and the response objects.
- End the request-response cycle.
- Call the following middleware function in the stack.
What does a middleware function look like? As following:
+ app.use(function (req, res, next) {
+  console.log('Time:', Date.now())
+  next()
+ })
The above middleware will log the time on each request received
Or you can run it on a particular route (for example /users ) in the following way:
- app.use(function (req, res, next) {
+ app.use('/users', function (req, res, next) {
    console.log('Time:', Date.now())
    next()
  })
Or multiple middleware functions on the GET call of some route like /users/pankaj
- app.use('/users', function (req, res, next) {
+ app.get('/user/:username', function (req, res, next) {
    console.log('Time:', Date.now())
    next()
+ }, function (req, res, next) {
+   // send an entry to system log
+   next()
  })
Some standard middleware functions for an Express app are:
Body Parser
Parses the request body and transforms it into a JavaScript Object for easy operation. Read more here: https://github.com/expressjs/body-parser.
const bodyParser = require('body-parser');

// parse application/x-www-form-urlencoded
app.use(bodyParser.urlencoded({ extended: false }))

// parse various different custom JSON types as JSON
app.use(bodyParser.json({ type: 'application/*+json' }));

// parse some custom thing into a Buffer
app.use(bodyParser.raw({ type: 'application/vnd.custom-type' }));

// parse an HTML body into a string
app.use(bodyParser.text({ type: 'text/html' }));
Logger
Logs the requests to the console or any other specific log
app.use((req, res, next) => {
  console.log('Request Received: ', new Date());
  next();
});
Or use an official logger from Express: https://github.com/expressjs/morgan.
CORS
Enables CORS for requests; it depends on how the middleware is used.
app.use((req, res, next) => {
  res.header('Access-Control-Allow-Origin', '*');
  res.header(
    'Access-Control-Allow-Headers',
    'Origin, X-Requested-With, Content-Type, Accept',
  );
  next();
});
Use an already-built middleware from here https://github.com/expressjs/cors
You can read more about CORS here: https://enable-cors.org/
Compression
Middleware to enable compression on Response. Read more here: https://github.com/expressjs/compression.
const compression = require('compression')

app.use(compression())Add X-Response-Time header to responses
const responseTime = require('response-time')

app.use(responseTime())
Now how do we use middleware to make a modular application?
We will separate the functionalities for routes and then attach them as middleware functions on some route base.
- We will create an instance of the router from the express
- Then we will add primary CRUD routes to the router instance
- Then we will add this route instance to another route base in the main Express app
Let's create one primary route-based middleware for Tweets:
// file-name: app-middlewares/tweets.js
const express = require('express');
const router = express.Router();

router.get('/:id', (req, res) => {
  const { id } = req.params;
  res.send({ id });
});

router.get('/feed', (req, res) => {
  res.send('Here get the feed');
});

module.exports = router;
Here we created two routes:
/feed → for the tweets feed
/:id → for the tweet of matching id
As you noticed, we did not put anything related to the base route except how it should behave on the mount point.
For now, these routes are not accessible as we have not mounted them in our app.
Let's mount the route middleware onto the route /tweets and see how it behaves in the app:
  const express = require('express')

+ const appRouter = require('./app-middlewares/tweets');
  ...
  const app = express();
  const port = 3000;

+ app.use('/tweets', appRouter);
  ...
  app.listen(port, () => {
    console.log(`Example app listening on port ${port}!`)
  });
After this, when you restart your node server, you will see that /feed is available as a child of /tweets making the final route into /tweets/feed
Similarly, for /:id, it will become /tweets/:id.
Till now, we understood the following:
- How to create a primary Express server
- How to use MySQL in Express
- What is Middleware
- How to arrange our application with middleware functions
Now let's create resolver functions to provide data to the feed and the tweet endpoint.
Here we are trying to keep the data layer and controller separate. This way, future controller or data layer changes minimally affect each other.
Feed
For the feed, we need to provide items in a paginated fashion.
But before that, we must consider what kind of pagination we should go for. That means we will have two ways to choose from for the pagination:
- Limit and Offset Based
- Pivot Based
Limit and Offset based pagination
Limit and Offset-based pagination is suitable for systems where the paginated data is not real-time or frequently changing. If we do so, we will run into problems with duplicated entries in the feed.
Pivot based pagination
A Pivot-based pagination system requests the items before or after the pivot.
It is very similar to the Limit and Offset based pagination, except that the data is sorted with the pivoted information, generally by creation timestamp.
For a social media feed, the data is very dynamic or, let's say, real-time. So here we will go for the Pivot-based pagination system.
Now here in our DB design, we can go for Row ID or Timestamp for our pivot, as both are sortable entities in our DB design; this might change for NoSQL-based design or if we choose to use UUID or strings hash for our IDs.
We will go ahead with ID column as our pivot, and the following will be our SQL query to get a feed with 50 items:
// query-builders/feed-query.js
module.exports = (user, pivot) => `
  SELECT username, tweet, timestamp
  FROM tweets WHERE ( user_id = ${user}
   OR ( user_id IN (
    SELECT user2_id FROM following WHERE user1_id = ${user}
   ) )
  ) ${pivot ? `AND id < ${pivot}` : ''}
  ORDER BY id DESC
  LIMIT 0, 50`;
Here special to notice that if this is the first load, we don't need to pivot, so we will send the first 50 from the Tweets table sorted in descending order by ID.
When we pass the ID pivot, it will give us the 50 records from the specified ID, omitting that specific ID.
So using the above query, our /feed endpoint looks like the following:
...
const connection = require('../helpers/connection');
const query = require('../helpers/query');
const feedQuery = require('../query-builders/feed-query');
...
router.get('/feed', async (req, res) => {
  const user = 1;
  const pivot = null;
  const conn = await connection(dbConfig).catch(e => {});
  const feed = await query(conn, feedQuery(user, pivot))
  res.send(feed);
});
...
And our route for specific tweets itself:
...
const connection = require('../helpers/connection');
const query = require('../helpers/query');
...
router.get('/:id', async (req, res) => {
  const { id } = req.params;
  const conn = await connection(dbConfig).catch(e => {});
  const tweet = await query(conn, `SELECT * FROM TWEETS
    WHERE id = ?`, [id])
  res.send(tweet);
});
...
With the above code in place, we need a few more endpoints like the following:
GET /user => logged in user
GET /user/followers => followers of the user
GET /user/following => all the friends user is following
GET, PUT /user/settings => to update things like password,name etc
POST /user/follow -> to follow some friend


Authentication

POST /auth/register -> register as new user
POST /auth/login -> login for users
GET /auth/confirm -> confirm the email for user
GET, POST /auth/forgot -> forgot password
For authentication, we will use third-party authentication scripts such as Firebase or Auth0
The following code will take care of auth and set the session or JWT for the logged-in user.
This logged-in user will be the basic initial information for all the other routes, like feed or user-related info.
Let's implement the user-related routes considering that we have information about the currently logged-in user.
User Profile
// GET
// /user
...
router.get('/', async (req, res) => {
  const user = 1;
  const conn = await connection(dbConfig).catch(e => {});
  const currentUser = await query(conn, `SELECT * FROM USERS
    WHERE id = ?`, [user])
  res.send(currentUser);
});
...
User's Followers
// GET
// /user/followers
...
router.get('/followers', async (req, res) => {
  const user = 1;
  const conn = await connection(dbConfig).catch(e => {});
  const followers = await query(conn, `SELECT
    USER_INFO.*, username as user1_username
    FROM (SELECT
    user1_id, user2_id, username as user2_username
    FROM FOLLOWING LEFT JOIN USERS ON user2_id = users.id
    WHERE user1_id = ?) as USER_INFO
    LEFT JOIN USERS ON user1_id = users.id`, [user])
  res.send(followers);
});
...
User's friends whom User is Following
// GET
// /user/following
...
router.get('/following', async (req, res) => {
  const user = 1;
  const conn = await connection(dbConfig).catch(e => {});
  const followers = await query(conn, `SELECT
    USER_INFO.*, username as user1_username
    FROM (SELECT
    user1_id, user2_id, username as user2_username
    FROM FOLLOWING LEFT JOIN USERS ON user2_id = users.id
    WHERE user2_id = ?) as USER_INFO
    LEFT JOIN USERS ON user1_id = users.id`, [user])
  res.send(followers);
});
...
Following a new Friend by the User
// POST
// /user/follow
...
router.post('/following', async (req, res) => {
  const user = 1;
  const { id } = req.params;
  const conn = await connection(dbConfig).catch(e => {});
  const follow = await query(conn, `INSERT INTO FOLLOWING
    (user1_id, user2_id)
    VALUE (?, ?)`, [user, id])
  res.send(follow);
});
User's settings
// GET, PUT
// /user/settings
...
router.get('/settings', async (req, res) => {
  const user = 1;
  const conn = await connection(dbConfig).catch(e => {});
  const settings = await query(conn, `SELECT * FROM SETTINGS WHERE user_id = ?`, [user])
  res.send(settings);
});
router.put('/settings', async (req, res) => {
  const user = 1;
  const vals = req.body;
  const values = Object.keys(vals).map(k => `${k}=${vals[k]}`);
  const conn = await connection(dbConfig).catch(e => {});
  const status = await query(conn, `UPDATE SETTINGS
		SET ? WHERE user_id = ?`, [values, user])
  res.send(status);
});
...
Attaching User Routes to the App
As we created all the above routes middleware for a user; let's mount this middleware on the /user route base:
  ...
- const appRouter = require('./app-middlewares/tweets');
+ const tweetsRouter = require('./app-middlewares/tweets');
+ const userRouter = require('./app-middlewares/user');
  ...
- app.use('/tweets', appRouter);
+ app.use('/tweets', tweetsRouter);
+ app.use('/user', userRouter);
  ...
And this is how we have created:
- REST(ish) API with Node.js and Express
- Twitter-like application API with Node.js, Express, and MySQL
You can download the following Postman collection to browse through the API
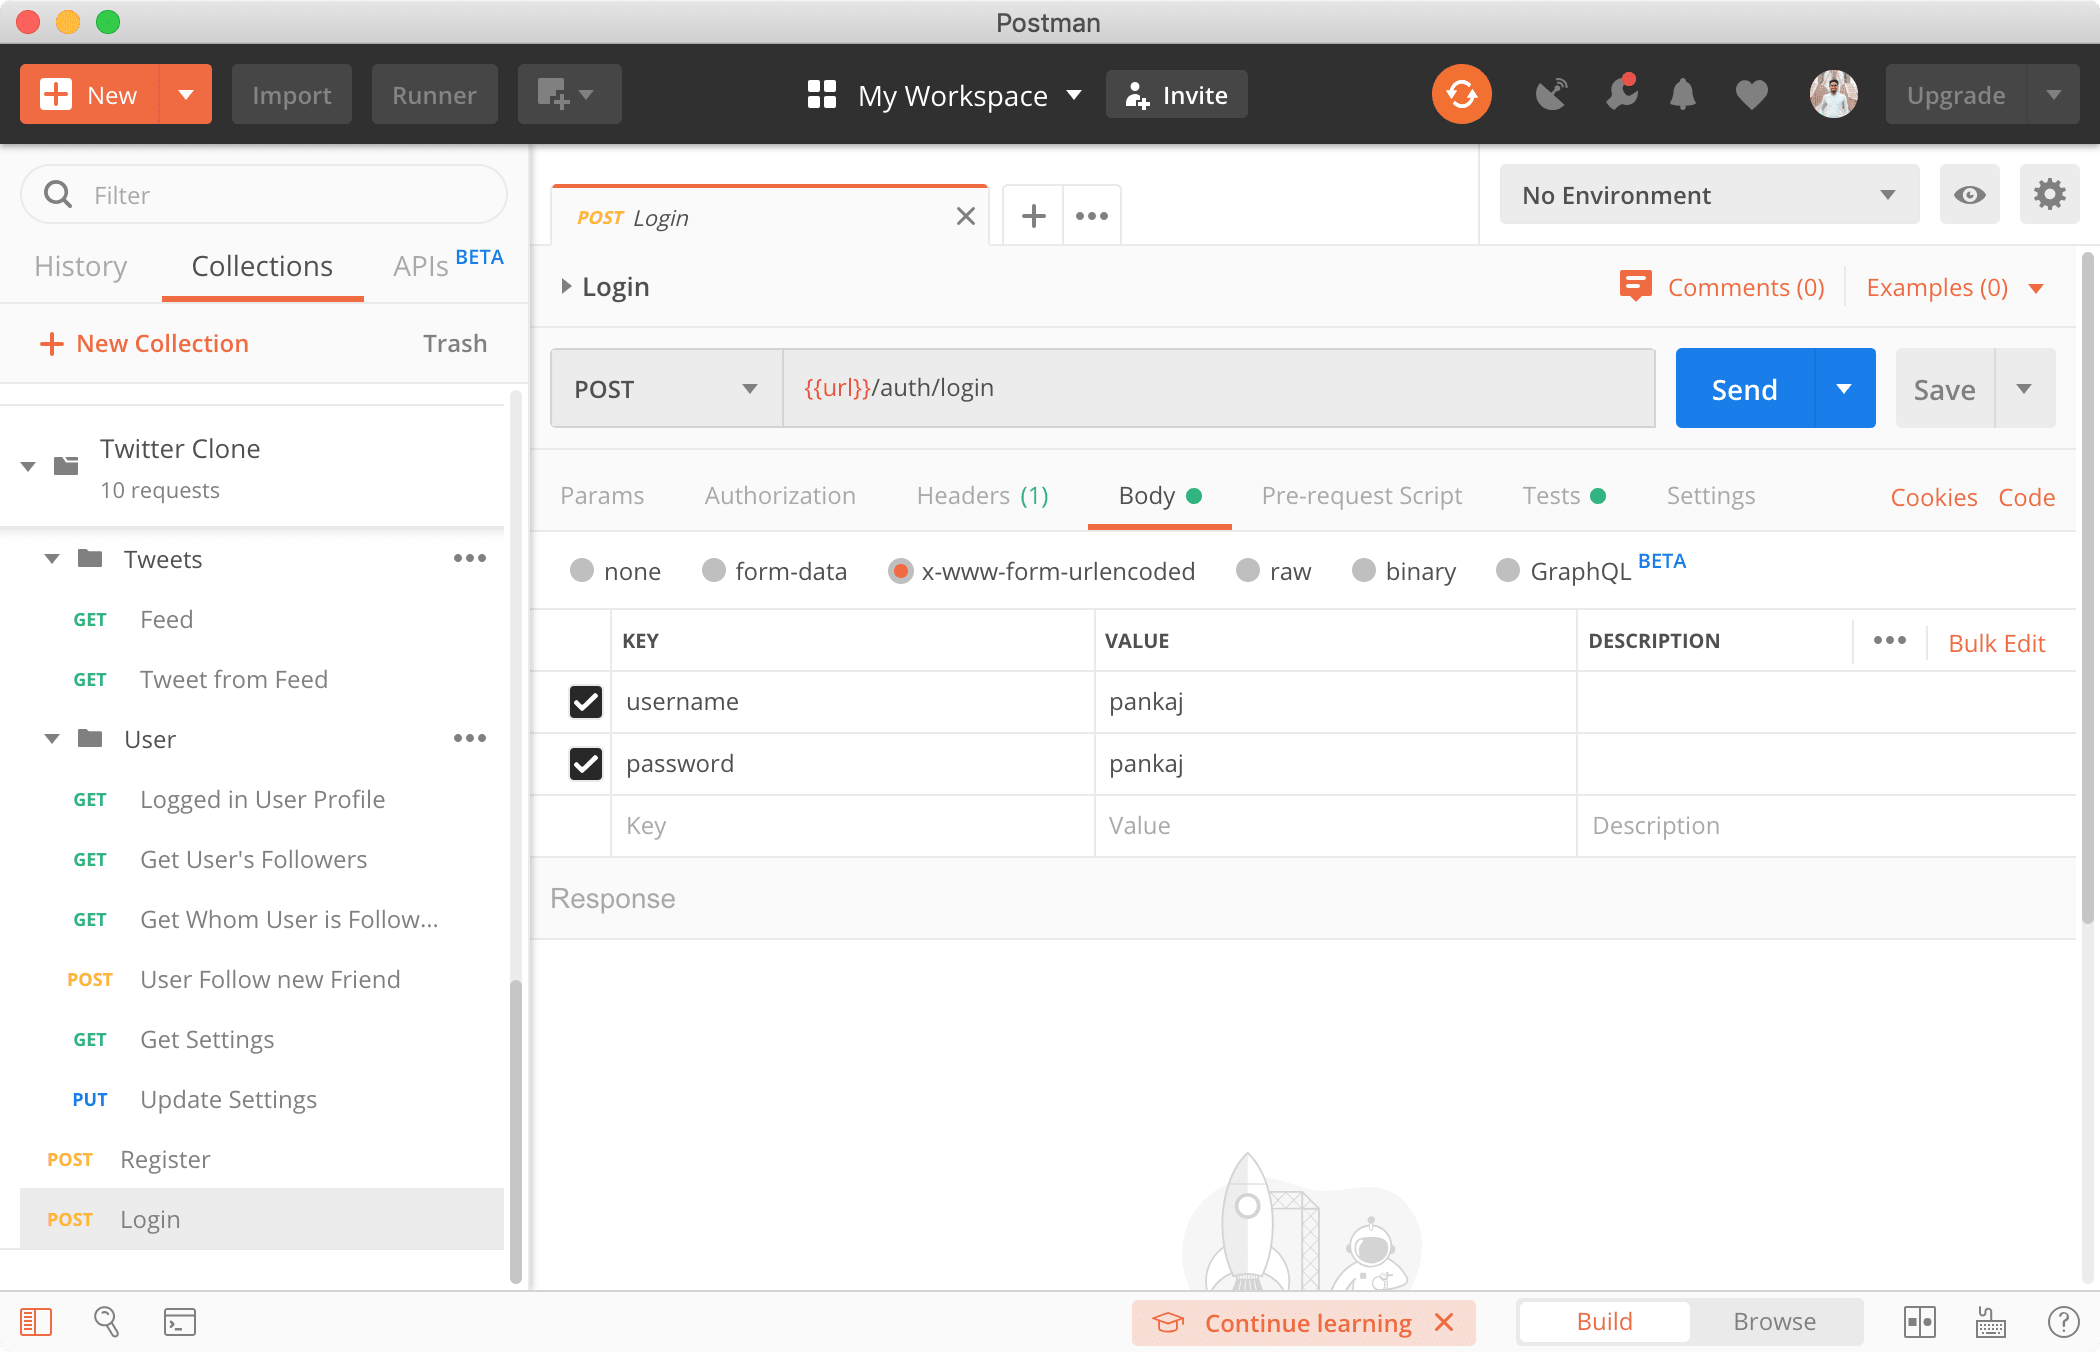


Postman Documenter
Github: express-mysql
Conclusion
In this article, we saw how to
- Create APIs with Node.js, Express, and MySQL
- Develop the application in a maintainable and modular way
Let me know through comments. or on Twitter at @heypankaj_ and/or @time2hack
If you find this article helpful, please share it with others.
Subscribe to the blog to receive new posts right in your inbox.
Updates Change-log
06 Oct 2020
- Added more middleware and links related to middleware
13 Dec 2020
- Added Links for MySQL and KoaJS
17 May 2021
- Added response-time middleware
23 June 2023
- Fixed grammatical mistakes