
Installation of RHEL on Oracle Virtual Box
People loose their whole data while installing Linux and it happens because of not understanding every step. Here is step by step guide to RHEL installation


As in the previous post, we discussed how to Run any OS on any OS!
Today we will check the installation of RHEL (Red Hat Enterprise Linux) Server in Oracle Virtual Box.
It's fairly simple, but you must be careful while installing Linux because many people say they lost their data. But it's not the fault of Linux, but they do not understand what they are doing.
So, here we will see the step-by-step installation guide of the RHEL server, along with screenshots and a video to help you.
Step 1
First, head over here: Run any OS on any OS to see how to create Virtual Machines with Oracle Virtual Box.
If you know this already, we can move to the next step.
Step 2
Now if you have an RHEL disk image file, locate it on the storage tab of Virtual Machine’s settings, and if you have an RHEL disk, you can host the DVD/CD drive to the Virtual Machine.
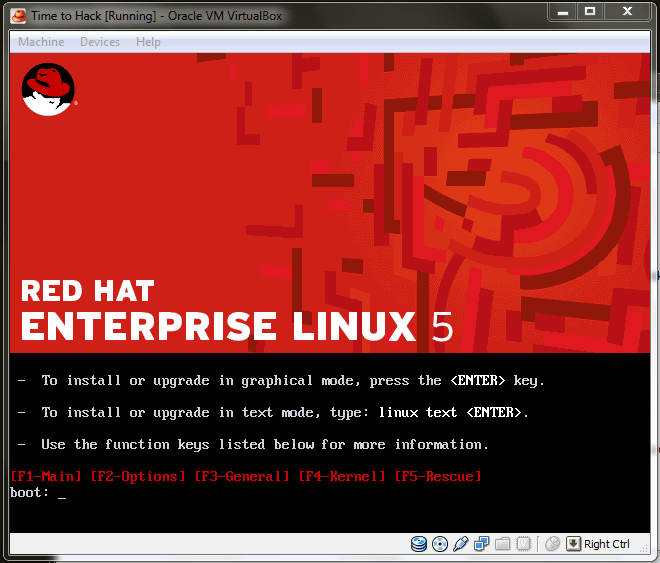
After doing so, start the Virtual Machine. It will look like this. Here you have many options to work on, but in the brief, you want to install Linux, so you must press Enter. It will start loading to start the installation process, and after some time, it will ask for a media check.
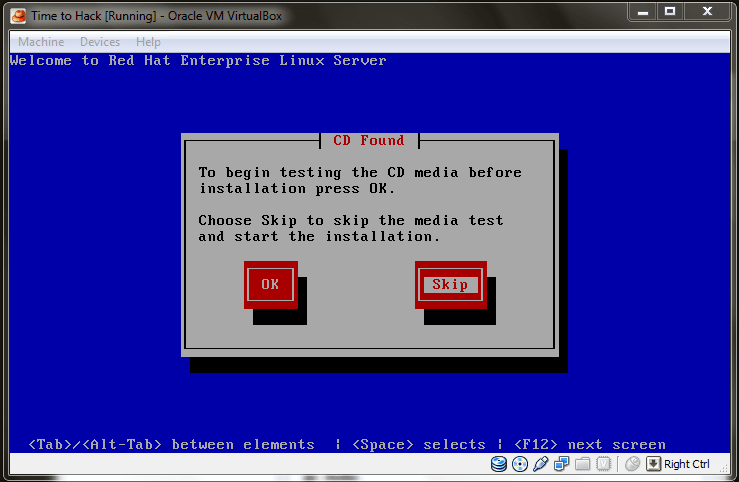
You can choose to perform this check if you are doubtful about the integrity of the installation media, and you can also skip this check.
After pressing skip Anaconda will load. Anaconda is the Red Hat Linux installer.
Step 3
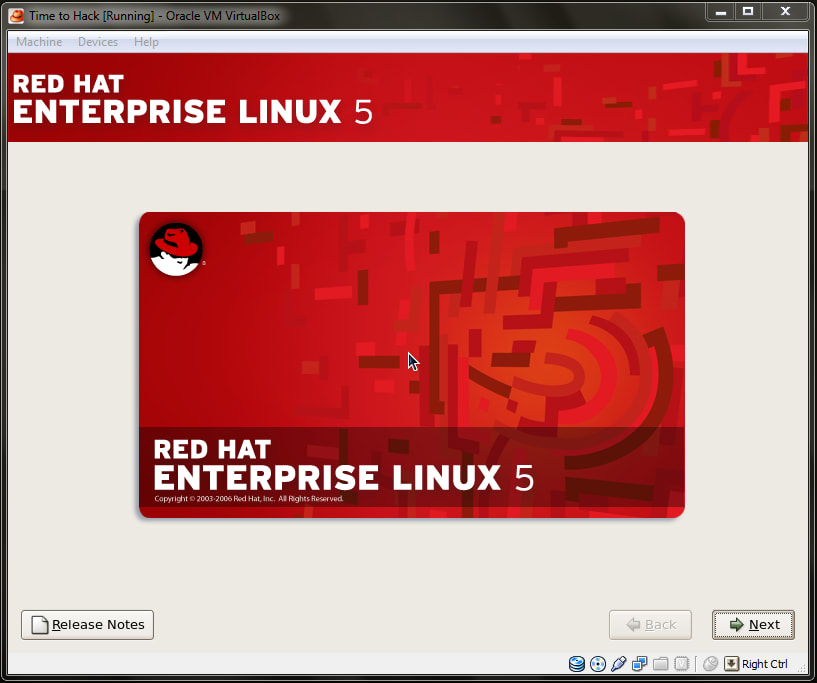
As the Anaconda gets loaded, it shows the Welcome screen of installation.
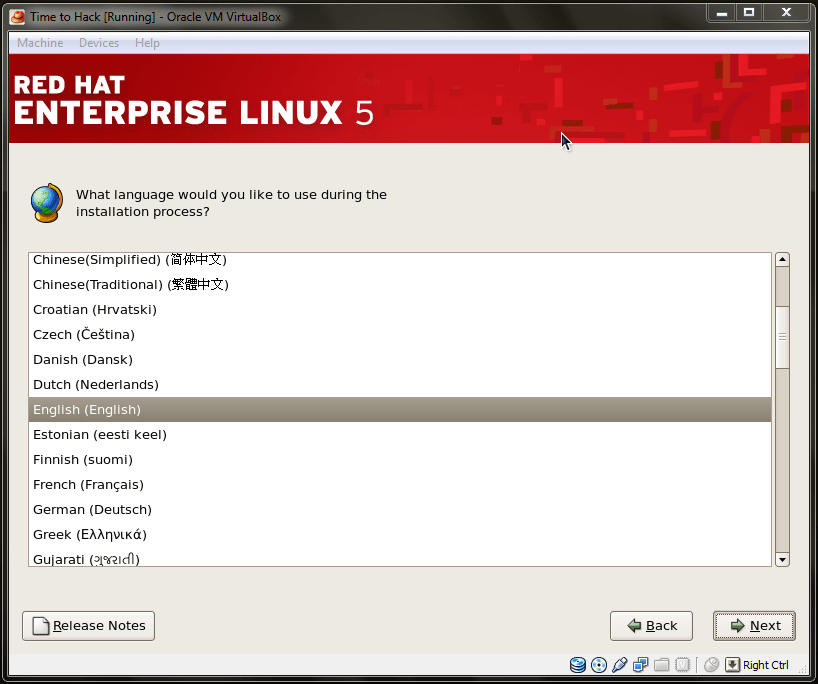
On clicking Next on the Welcome screen you will get a screen to select the language during the installation process.
Select the appropriate language and press Next.
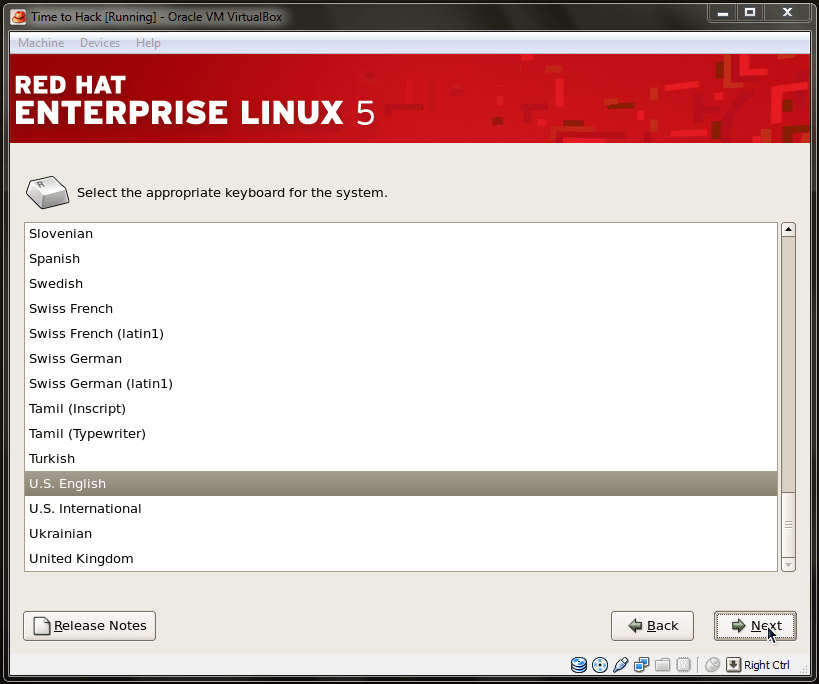
Afterward, you will get a screen to select the appropriate Keyboard layout. Select the proper layout and press Next.
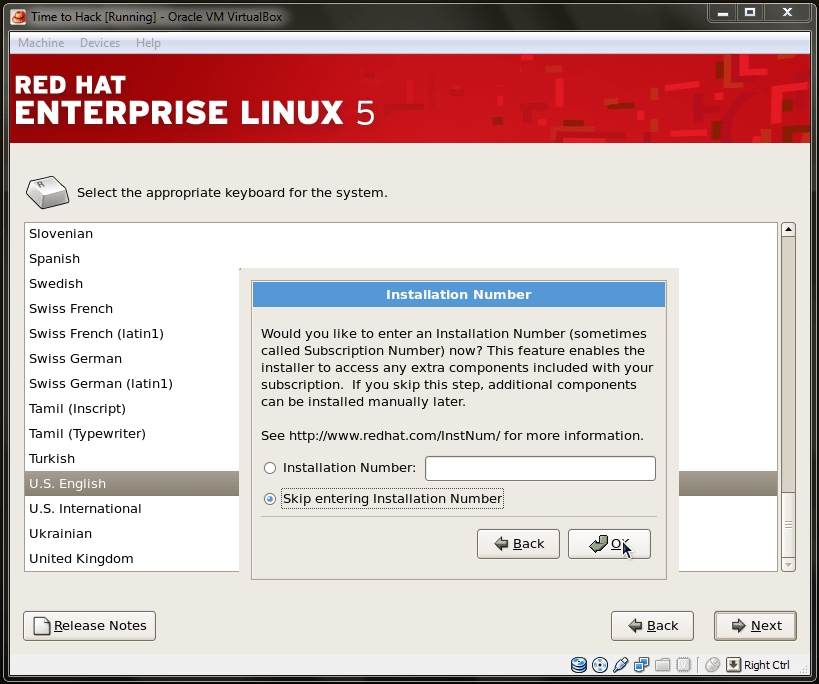
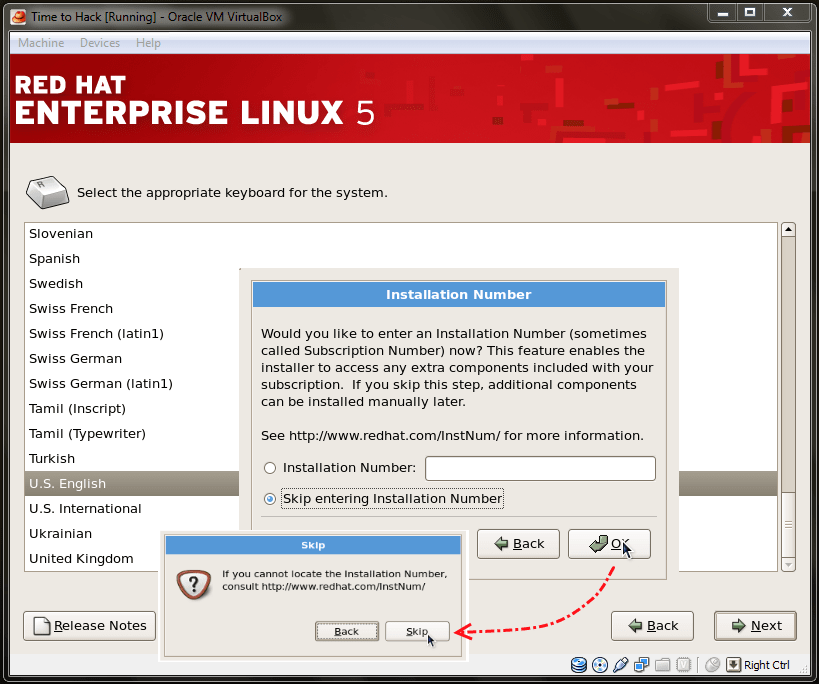
Then you will obtain a dialog box to provide the Installation Number. If you have the No., enter it and press OK or skip the Installation Number. If you choose to skip it will ask for confirmation. Press OK to confirm the skipping of the Installation Number.
Step 4
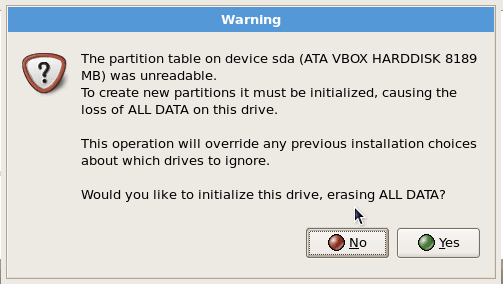
Then if you have installed a new HDD (Hard-disk Drive), it will show a dialog box to initialize the HDD.
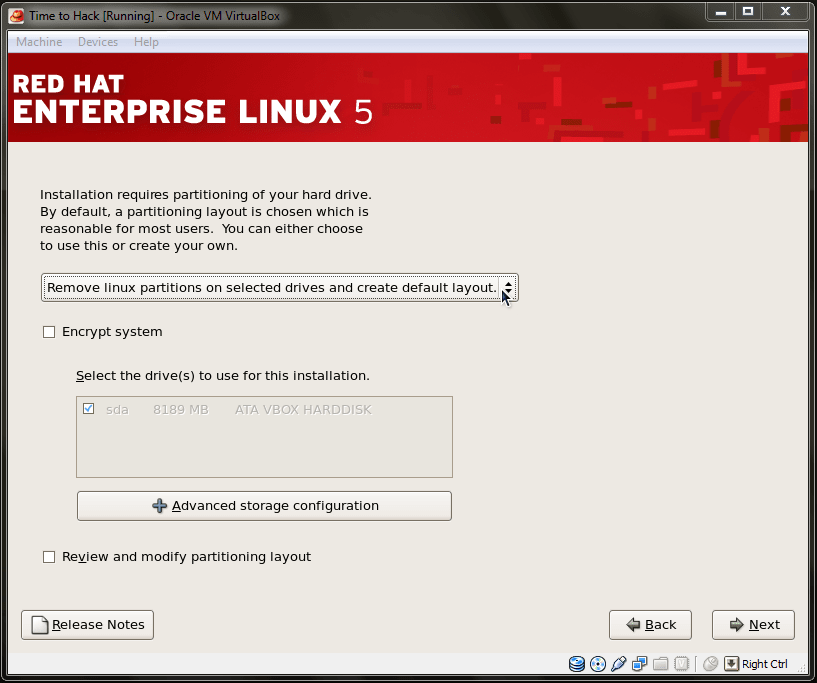
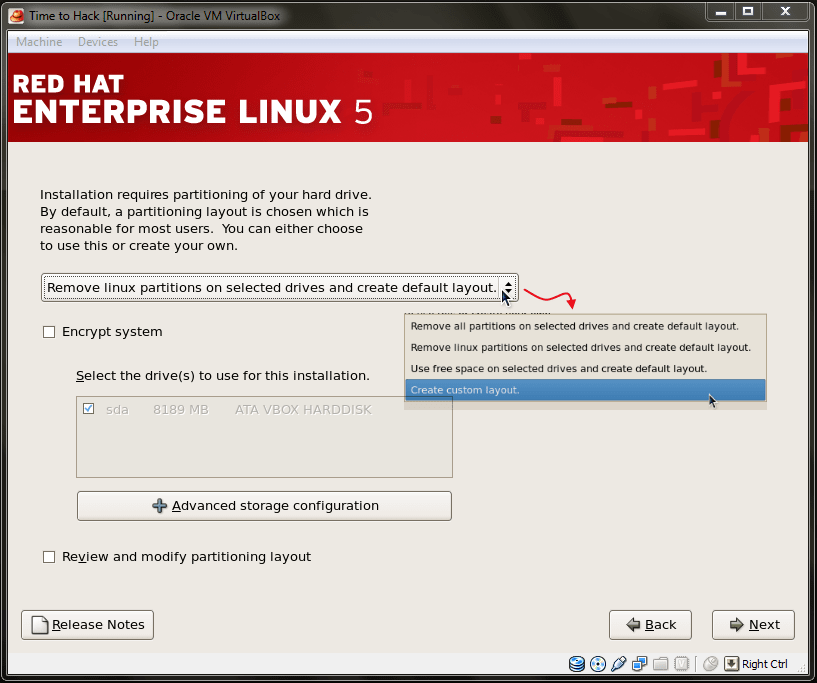
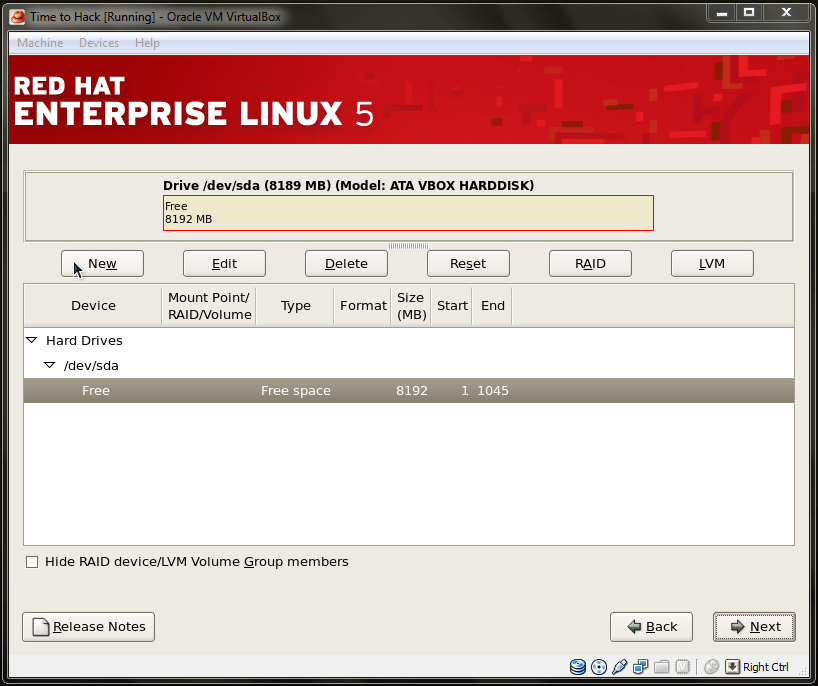
Click on Yes to initialize, and then the Partitioning layout of the HDD is shown. Choose a custom layout and press Next. Then you will be shown a window to create partitions.
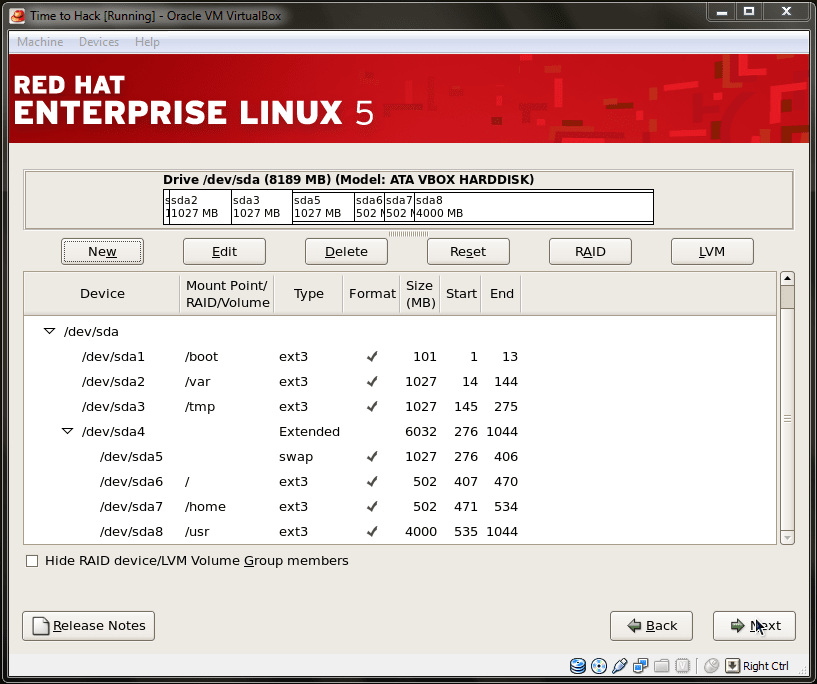
Create partitions in the following order and following minimal sizes to set up a server install. The first field is Mount Point, the second field is partition type, and the third field is partition size.
/boot:ext3:100MB/home:ext3:500MB–:swap: (double of ram)/:ext3:500MB/var:ext3:1024MB/tmp:ext3:1024MB/usr:ext3: (fill to maximum allowed space)

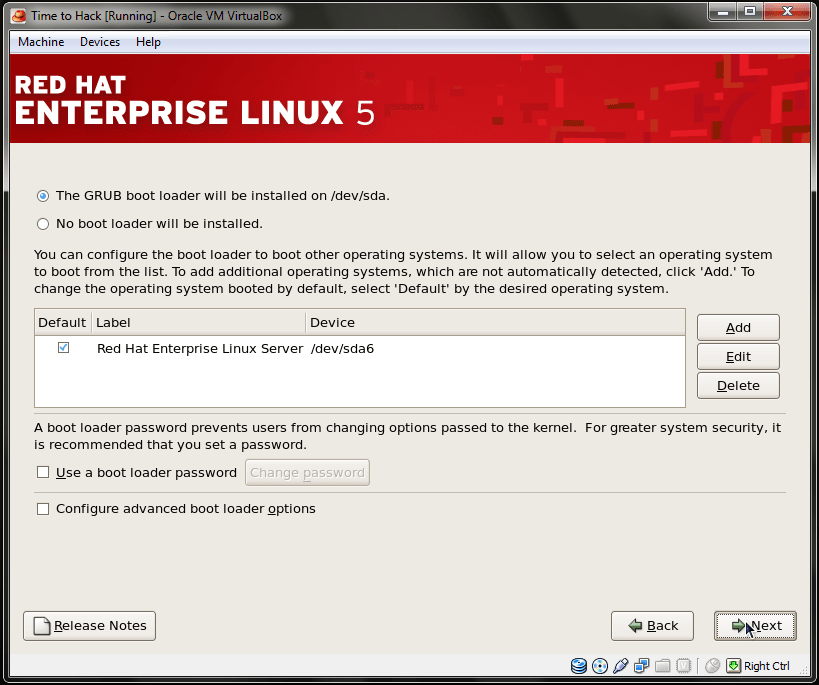
After doing so, press Next. And it will show you the screen for the boot-loader. For simplicity, do not change any option here and press next. If you want more info about customization, please request so by commenting here.
Step 5
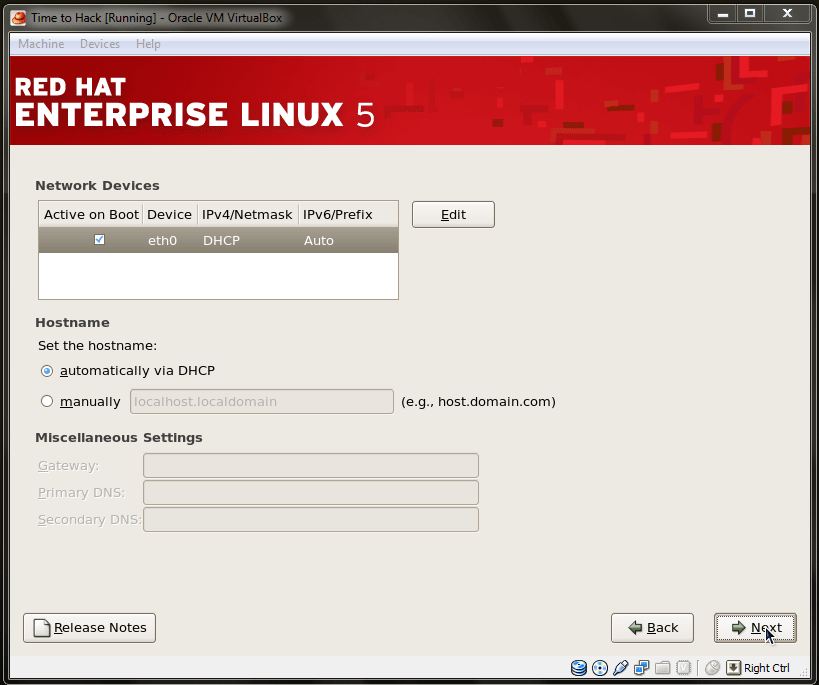
Now you will find the Network Devices screen. Don’t change any settings and press next, as this setting plays an important role while installing from the network. We are installing with a disk image; this option doesn't need any configuration.
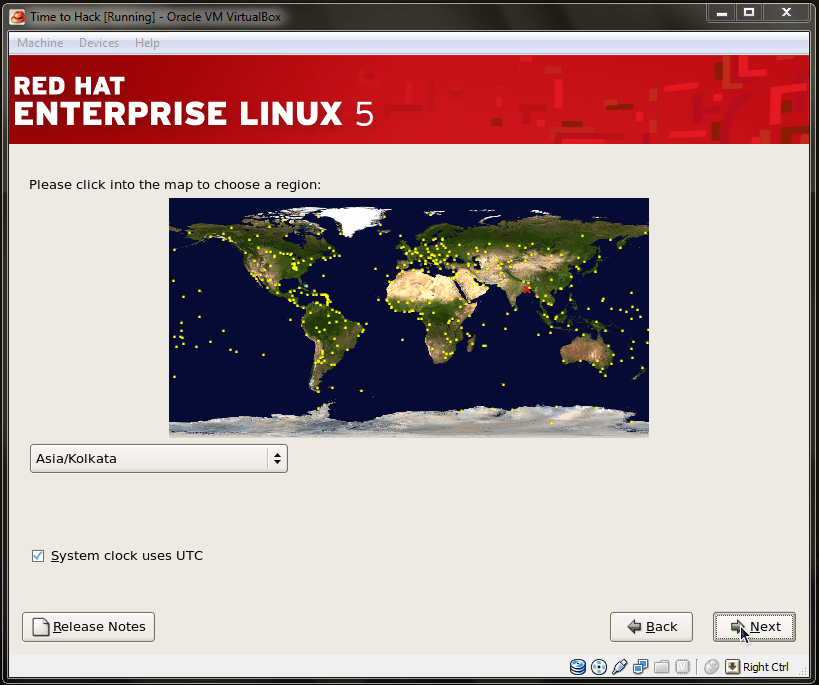
After that, you will see a screen to select the time zone region; select it and press Next.
Then, you will see a screen to set the root password, which is mandatory. So choose the best suitable strong password as it is the key to the security of the Linux server, after typing the password, press Next.

Step 6
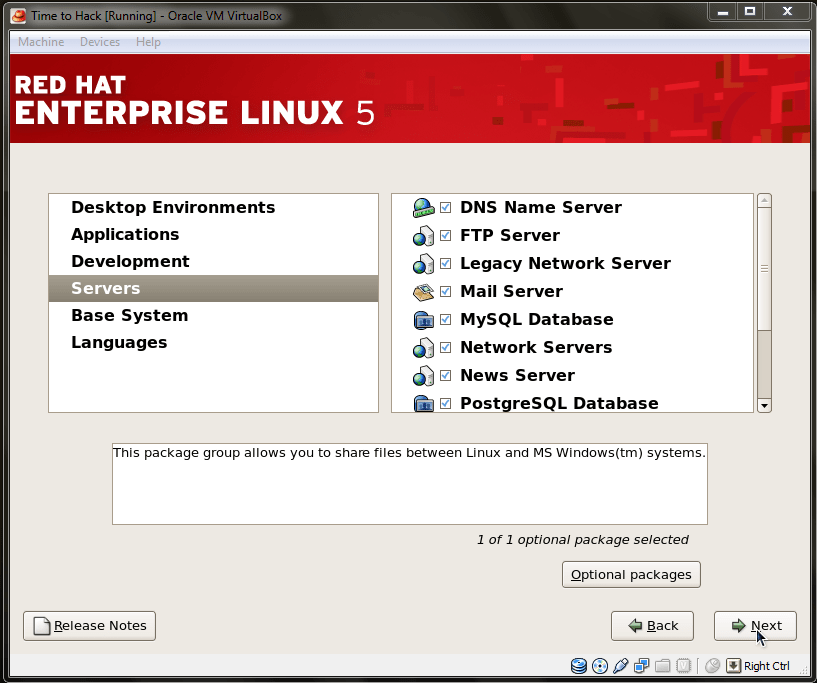
Then after you will see a package selection window, where you can choose to customize later, but as we are creating a server setup, we will select customize now and press next.
Then after we will select the only required packages in the server we will choose all server packages, and we will reject packages like media, office, graphics, games, etc.
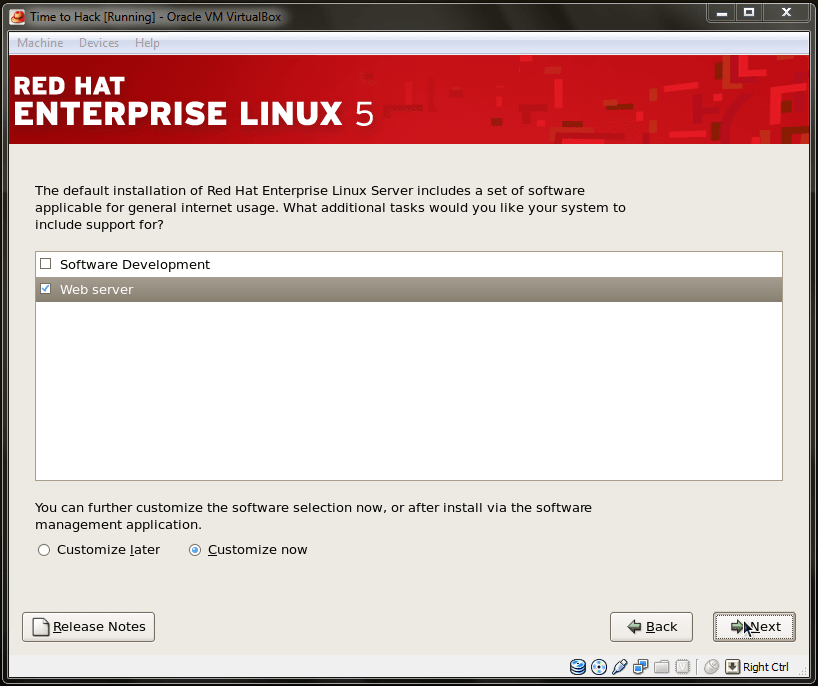
After selecting the required packages, press Next.
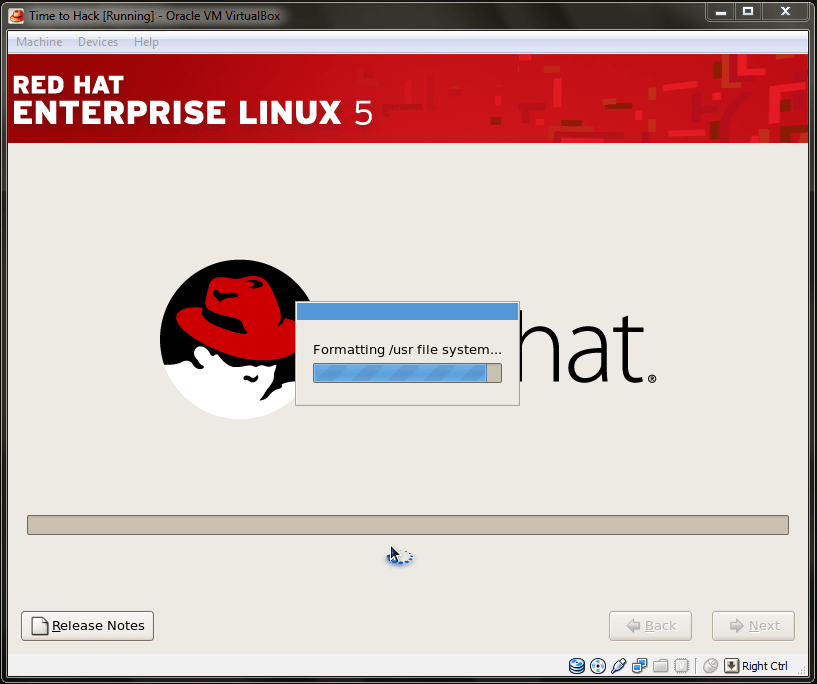
Then, you will see a window to start the installation.
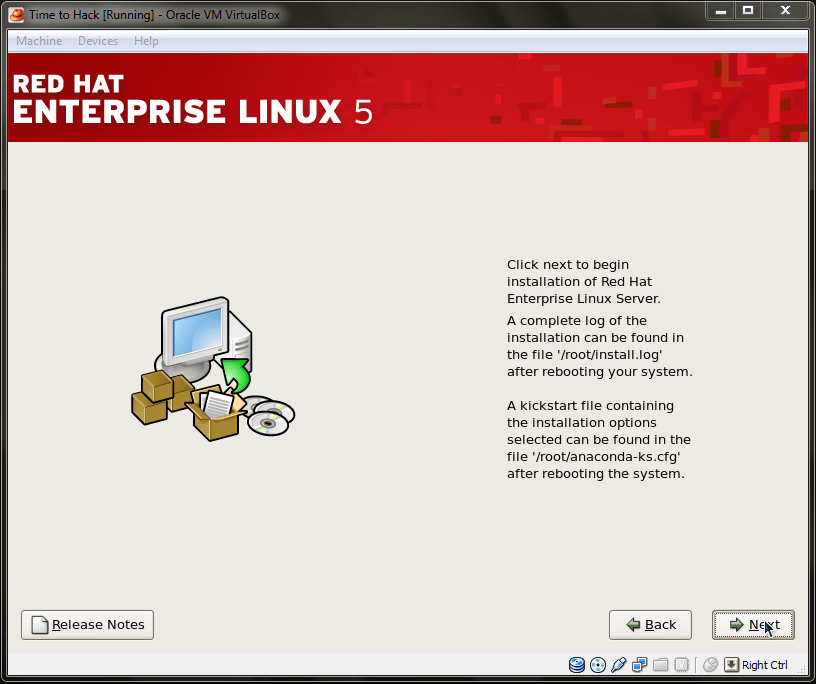
Press next and wait until it shows the Congratulation Screen.
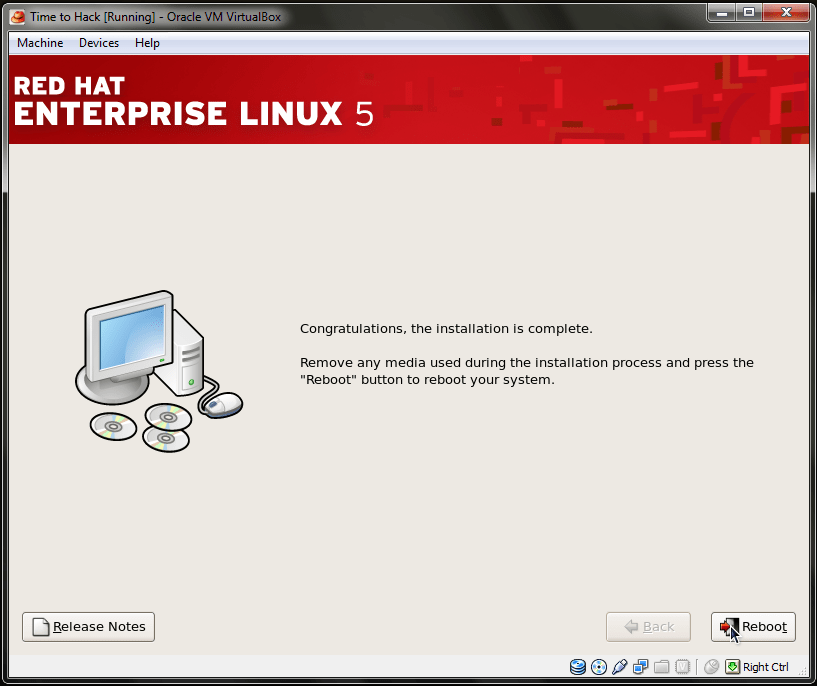
Step 7
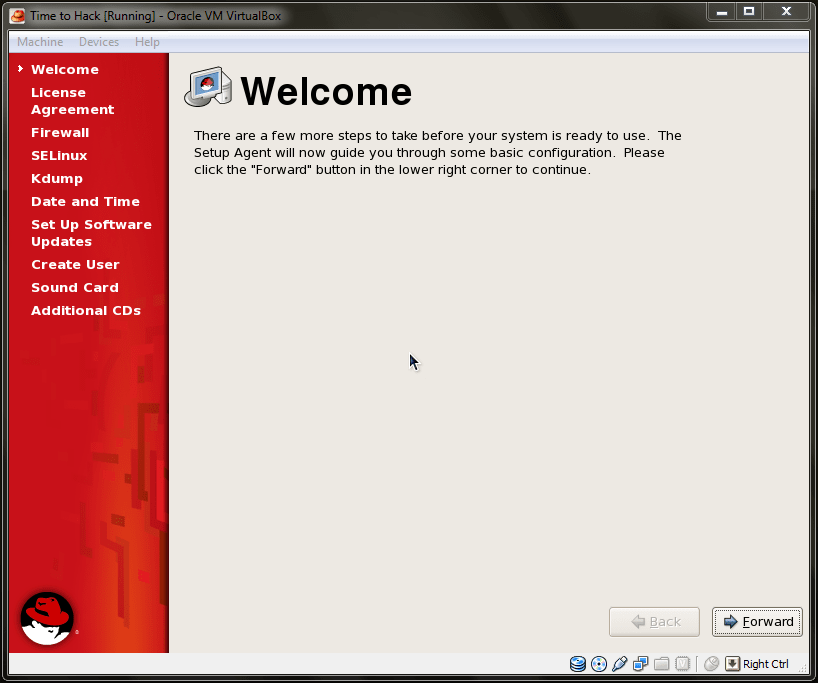
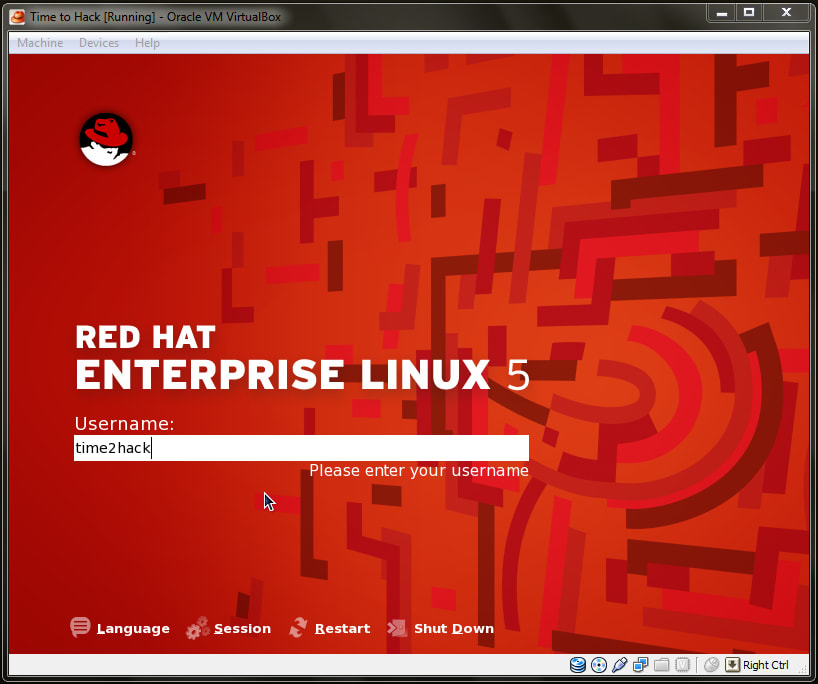
On that screen, press Reboot and wait for it to start. After reboot, it will start and shows Screen for some minor but necessary configurations.
Here is a small list of the necessary ones; others you can leave for now
- Welcome Screen: Press Forward.
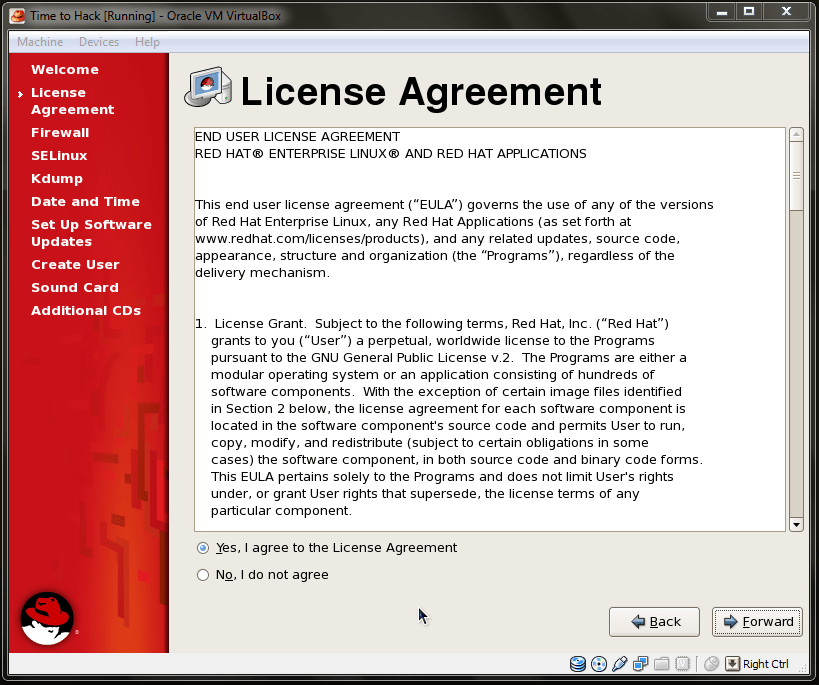
- License Agreement: Accept and press Forward.
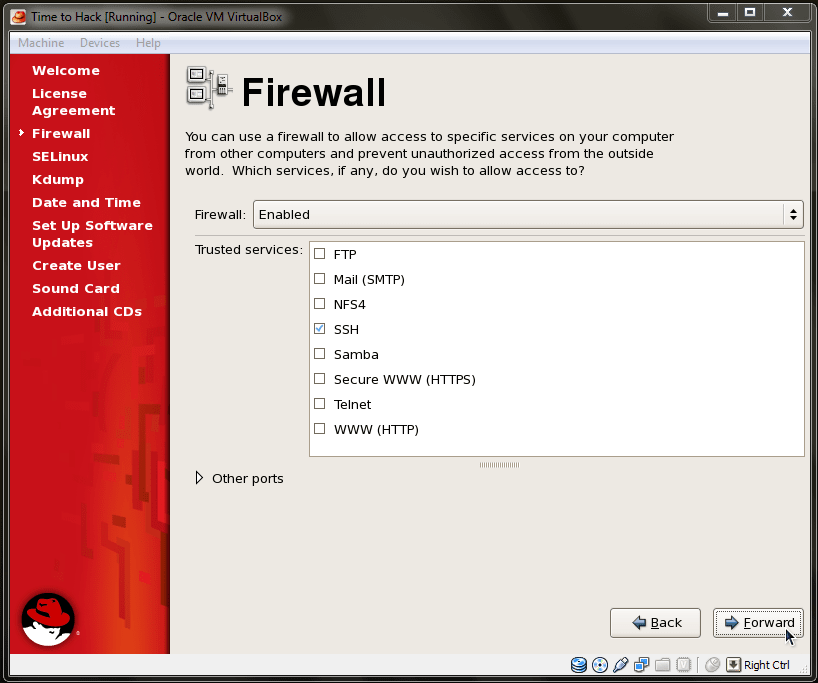
- Firewall: Enable it by selecting modules or Disable it and press Forward.
- SELinux: Security Enhanced Linux, leave it as it is, and press Forward.
- Kdump: Kdump is a kexec-based crash dumping mechanism for Linux, leave it as it is and press Forward.
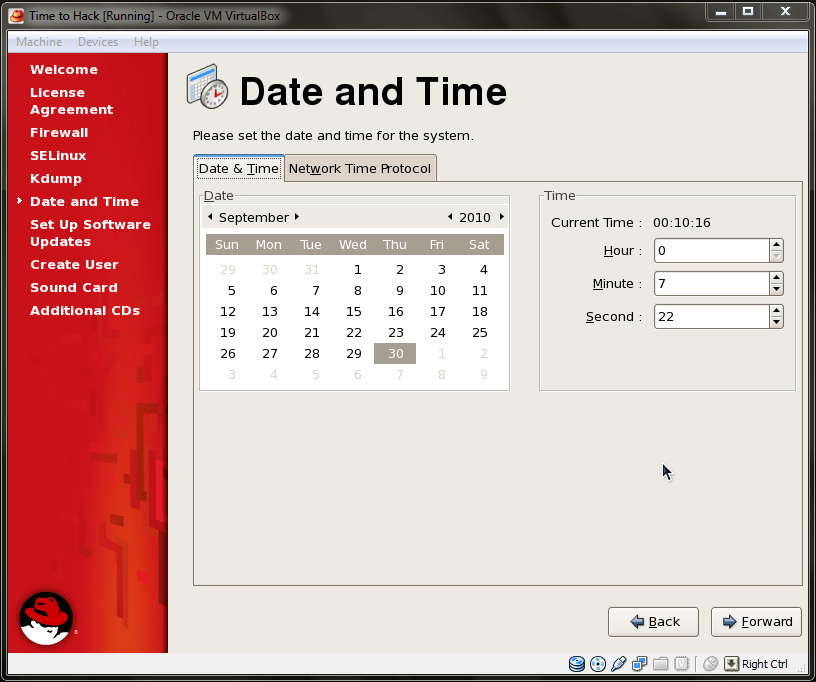
- Date and Time: Set your date and time to the appropriate value and press Forward.
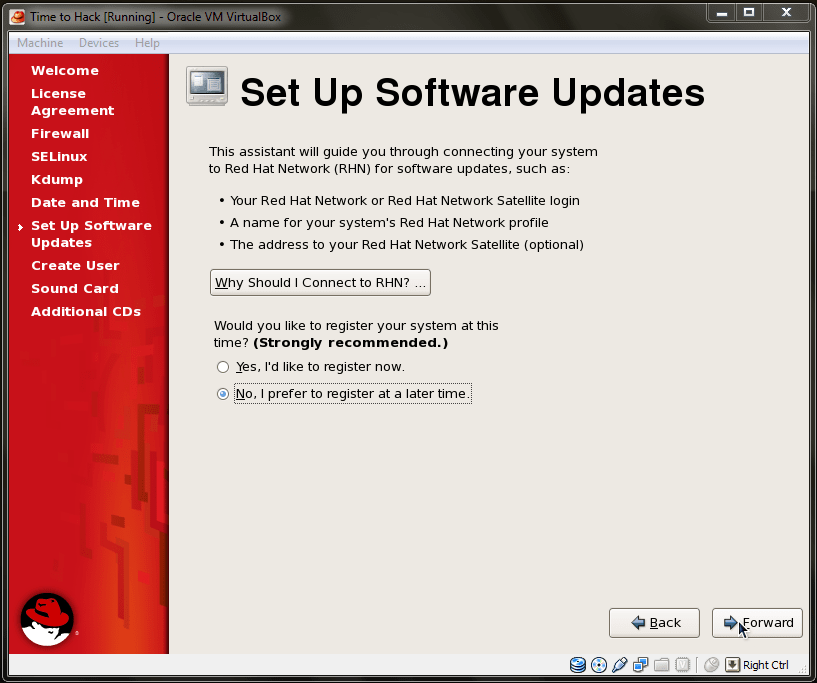
- Set up Software Updates: It will ask to connect to RHN (Red Hat Network). You can register or skip it. Select the appropriate option and press Forward.
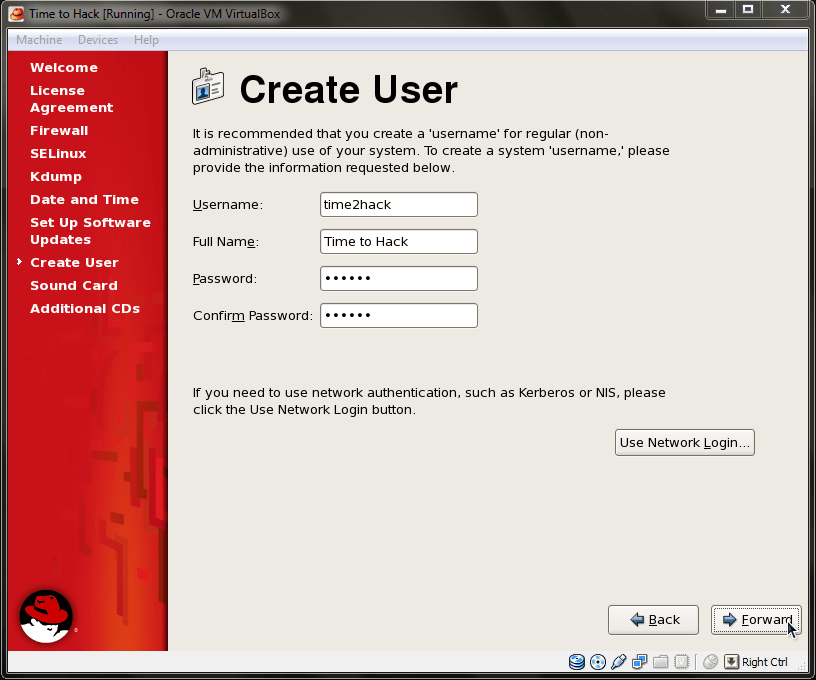
- Create User: Create a normal user and its password and press Forward.
- Sound Card: Here you will find the setup for your sound card configure and test and when you are done press Forward.
- Additional CDs: You can install additional CDs here and when done press Finish.
Here is the video on the installation of the RHEL server on Oracle Virtual Box:
Conclusion
We learned how to install the RHEL on Oracle Virtual Box. Let me know via comments if you find yourself in trouble while your Linux installation. You can also reach me on Twitter at @heypankaj_ and/or @time2hack
If you find this article helpful, please share it with others.
Subscribe to the blog to receive new posts right to your inbox.