
Auth Schemes in Google Firebase
Google Firebase offers many Authentication providers and here we will discuss Register and Login with Google, Facebook, Twitter, GitHub & Anonymous Login


Recently Google announced the new makeover of Firebase, Google Firebase; and there are changes in the way to approach the things in Google Firebase. With this new release there are lot of new features introduced to Firebase which are listed here: https://firebase.google.com/features/.
But today we are going to cover the Auth Schemes in Google Firebase. This post is more or less in support to the previous posts on Firebase, which can be found here (intro) and here (simple login).
So basically the new Firebase supports following Auth schemes; these login schemes are called the “Sign in Providers” in terms of Firebase:
- Email/password
- GitHub
- Anonymous
Before we proceed with it, we would assume that are aware of npm and how to set it up. There are so many articles over internet; but if you feel lazy to search them, you can read it here concisely.
So for this, we are going to use jQuery and Bootstrap for scaffolding and skeleton of mini app that works with all above auth schemes. Let’s say our mini app is called “moviesDB”.
Init
So fire up npm init and key in the required info and the final package.json looks like this:
{
  "name": "movie-db",
  "version": "0.1.0",
  "description": "Firebase based app",
  "author": "Pankaj Patel <[email protected]>",
  "license": "MIT",
  "private": true,
}
The above listed is the minimal package.json, when you will create it with npm init, it will have lot more options, bit this much is fine to go ahead with.
Now we would need jquery, bootstrap and firebase packages to be added to the package as dependency.
npm install --save jquery bootstrap firebase
We would also use webpack as bundler to pack and bind all of our code and dependencies to generate a single bundle file. So webpack will be added as a dev dependency. And for dev purpose we would also need a local server and a file watcher to re-bundle as the file changes. Webpack has CLI tool called webpack-dev-server to help with this. More info on this can be read here: https://webpack.github.io/docs/webpack-dev-server.html
npm install --save-dev webpack webpack-dev-server
Config
Before using the auth schemes, the firebase app is needed to be initialized. The initializing of firebase app has changed from the previous version, in previous version inly firebase db url was required to initialize the app but in new Google firebase, it will require different initialization like as follows:
const config = {
  apiKey: '<your-api-key>',
  authDomain: '<your-auth-domain>',
  databaseURL: '<your-database-url>',
  storageBucket: '<your-storage-bucket>'
};

firebase.initializeApp(config);
When you can get the keys and other info, i.e. above code block in following way:
Assuming the init is successful, we can request the auth from firebase library. The email/password provider would need the user to be registered, and it auto logins the user while registration.
For other providers based on social channels, the proper app id, app secret and oAuth callback url needs to be set in respective areas of firebase console and social channel apps.
For Facebook, you would need to go to https://developers.facebook.com/apps/ to create an web based app. As you create the app by providing the basic required information, you would get the app id and client secret.
And while setting the app on Facebook, you need to set the desired scope of your app. For basic system basic_profile scope is enough; you can choose others as per the features of your Facebook app.
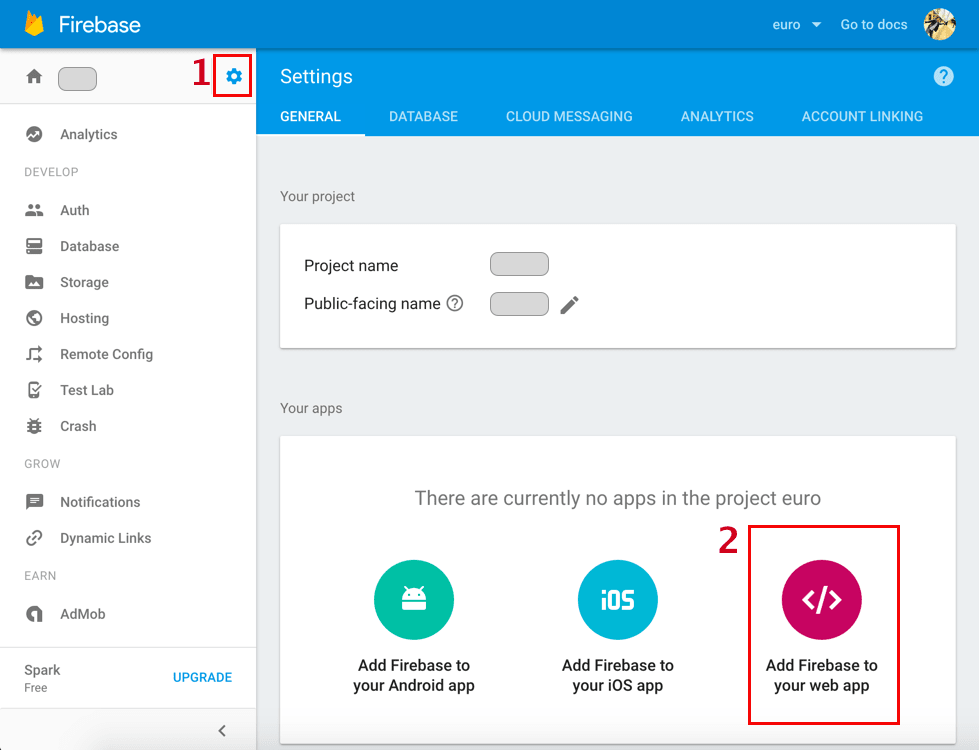
Also put the oAuth callback url; which we have got while enabling the provider. And that’s it on the Facebook app. Now we have to make our app work with Facebook login. Following screenshots explain briefly


In our app, Firebase.auth() provides the necessary methods for the authentication. For Facebook or any social channel login/register signInWithPopup(…) is used. This method accepts the provider object.
The provider object can be created with respective provider constructors. The constructors are available at Firebase.auth object.
So for Facebook, provider object can be created in following way:
const provider = new Firebase.auth.FacebookAuthProvider();
provider.addScope('public_profile');
As this provider is available, this can be used in the signInWithPopup in following way:
Firebase
  .auth()
  .signInWithPopup(provider)
  .then((result) => {
    const user = result.user;
    console.log(user)
  })
  .catch((error) => {
    console.log(error);
  });
This above block is a reusable block which can handle the other social channel logins also. So we would be reusing this piece of code again. Now lets look at the other social logins.
For Twitter, you can create your twitter app here https://apps.twitter.com/ and obtain the client id and app secret. And feeding these id and secret while you enable Twitter provider at firebase console, you will obtain the callback url for twitter.
You would need to put this callback url in Twitter app settings to make it work fine.
Being done with these app settings, you would have to handle the twitter login in your code; just like Facebook. But twitter does not have any scope definitions for its API access. So following will be the collective code for provider and signInWithPopup(…).
const provider = new Firebase.auth.TwitterAuthProvider();

Firebase
  .auth()
  .signInWithPopup(provider)
  .then((result) => {
    const user = result.user;
    console.log(user)
  })
  .catch((error) => {
    console.log(error);
  });
To use Google authentication in your app, you don’t need to do anything but to just enable the auth provider and rest is all done in terms of configuration.
Though, for info purpose, you can register app and obtain the appid and secret from here https://console.developers.google.com/iam-admin/projects
The remaining part is to make it work in our web app. For this the process would be very same as Facebook provider where we would have to define the scope for our auth.
The code for provider and then authentication looks as following:
const provider = new Firebase.auth.GoogleAuthProvider();
provider.addScope('scope url');

Firebase
  .auth()
  .signInWithPopup(provider)
  .then((result) => {
    const user = result.user;
    console.log(user)
  })
  .catch((error) => {
    console.log(error);
  });
Github
Well GitHub auth scheme is something which will not be needed every time; but yes for the sites or apps that are developer centric, this auth scheme is pretty good to use. Setting up GitHub auth is also very similar to other social auths with scopes; though scope are optional.
You can create an GitHub application at github.com at the url: https://github.com/settings/developers. And similarly save the OAuth callback URL at github which is received from the Firebase Console.
Following code will show the way to do the GitHub login in the webapp:
const provider = new Firebase.auth.GithubAuthProvider();
//completely option code
provider.addScope('repo');

Firebase
  .auth()
  .signInWithPopup(provider)
  .then((result) => {
    const user = result.user;
    console.log(user)
  })
  .catch((error) => {
    console.log(error);
  });
Email/Password
The Email/Password authentication is pretty straight forward where you flow will be same as the regular user registration and login systems. For this scheme, there will be two directions; Register and Login. Let’s go through them one by one.
Register
Registration of User will require the email and the password. So lets consider that Register Form is in place and on submitting the form, following code executes. This code will Register the user and will automatically logged in when registration is successful.
const data = {
  email: '[email protected]',
  password: 'S0M3wEiRdPa$$w0rD'
};
Firebase
  .auth()
  .createUserWithEmailAndPassword(data.email, data.password)
  .then((user) => {
    const uid = user.uid;
    console.log(uid);
  })
  .catch((err) => {
    console.error(err);
  });
Login
And the login, is same as registration. Only the method signature will change and everything remains same. Here is the code to the login:
const data = {
  email: '[email protected]',
  password: 'S0M3wEiRdPa$$w0rD'
};
Firebase
  .auth()
  .signInWithEmailAndPassword(data.email, data.password)
  .then((user) => {
    const uid = user.uid;
    console.log(uid);
  })
  .catch((err) => {
    console.error(err);
  });
Anonymous
This type of logins/auth is used to keep the user anonymous but authenticate them very well.
These type of authentication schemes are very useful in cases where some feature require user auth objects but user necessarily don’t need to login. Such features can be used in case of Guest Features in an app; Checkout as Guest in e-commerce, feedback or complaint forms etc.
Following code should work for Anonymous auth:
Firebase
  .auth()
  .signInAnonymously()
  .then((user) => {
    console.log(user)
  })
  .catch((error) => {
    console.error(error)
  });
And now let’s combine the above code in functional way and also after reusing the code; following is the code:
And after binding these functions in HTML, the script is as follows:
Extras
Current LoggedIn User
To get the current logged in user, you can use following piece of code
Firebase.auth().currentUser
Logout
To logout the current loggedin user, following block of code can be used:
Firebase
  .auth()
  .signOut()
  .then(() => {
    return true; //Do necessary cleanup
  })
  .catch((e) => {
    //There might be error, Force session and local cleanup
    return false;
  })